|
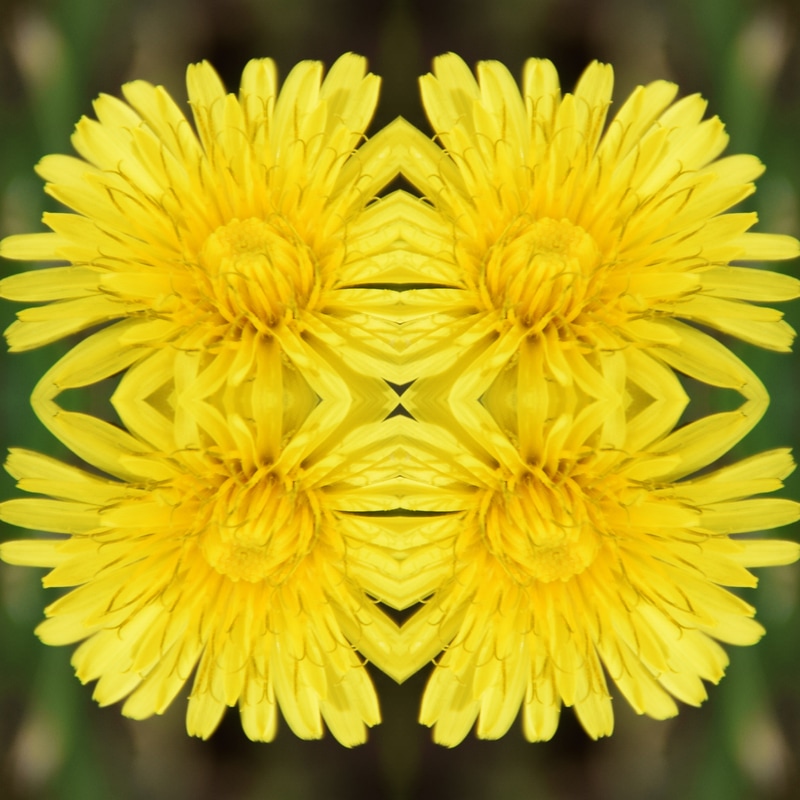
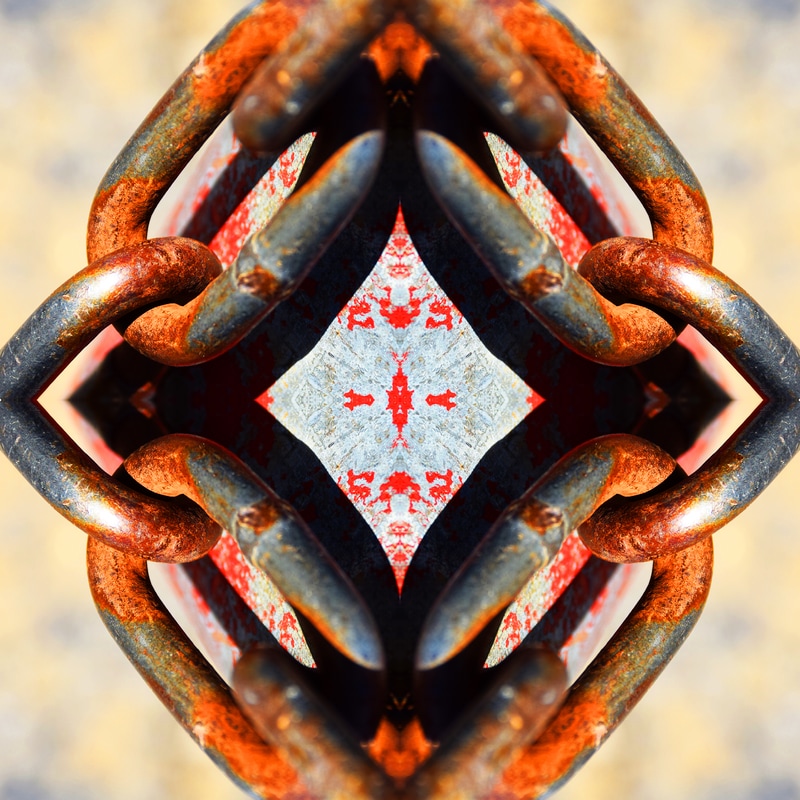
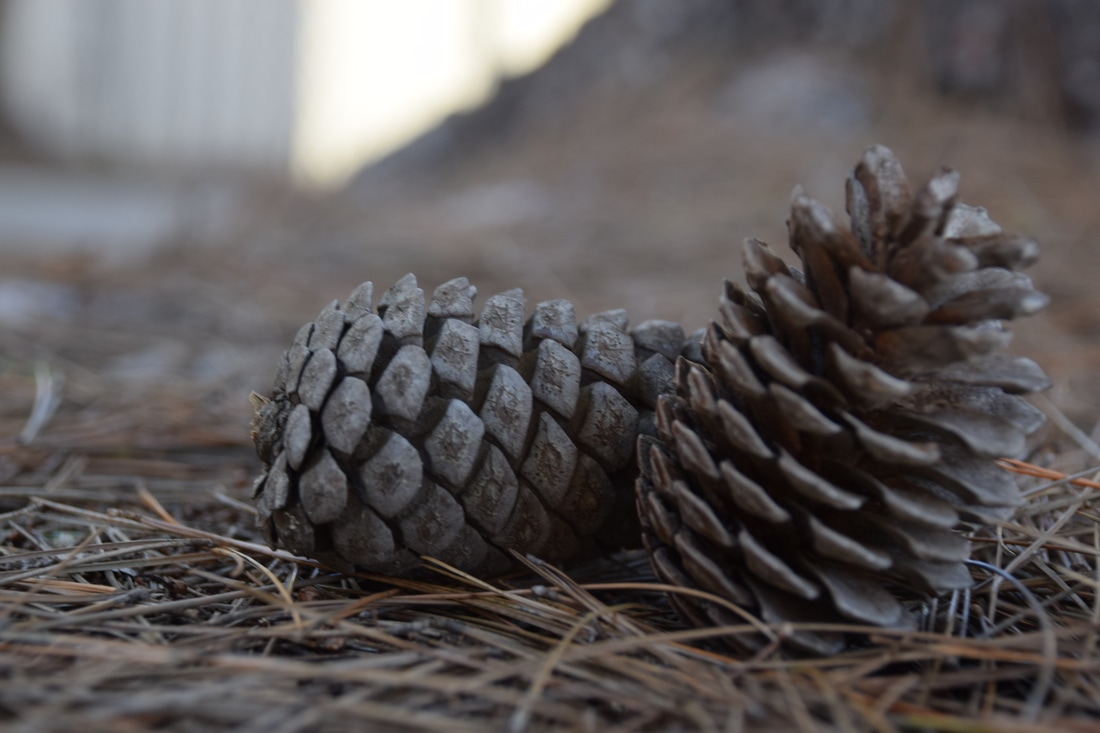
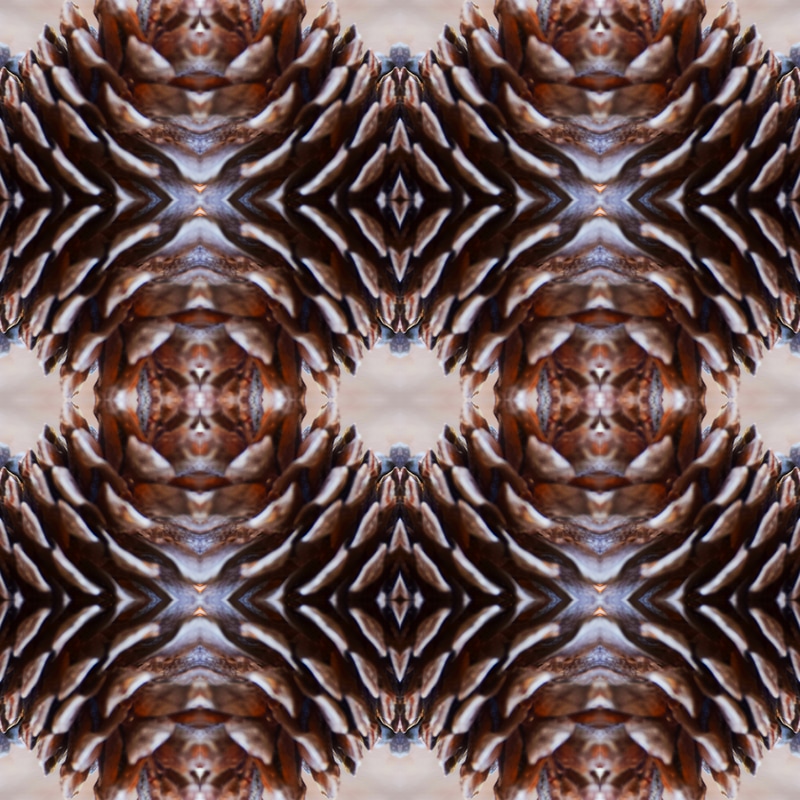
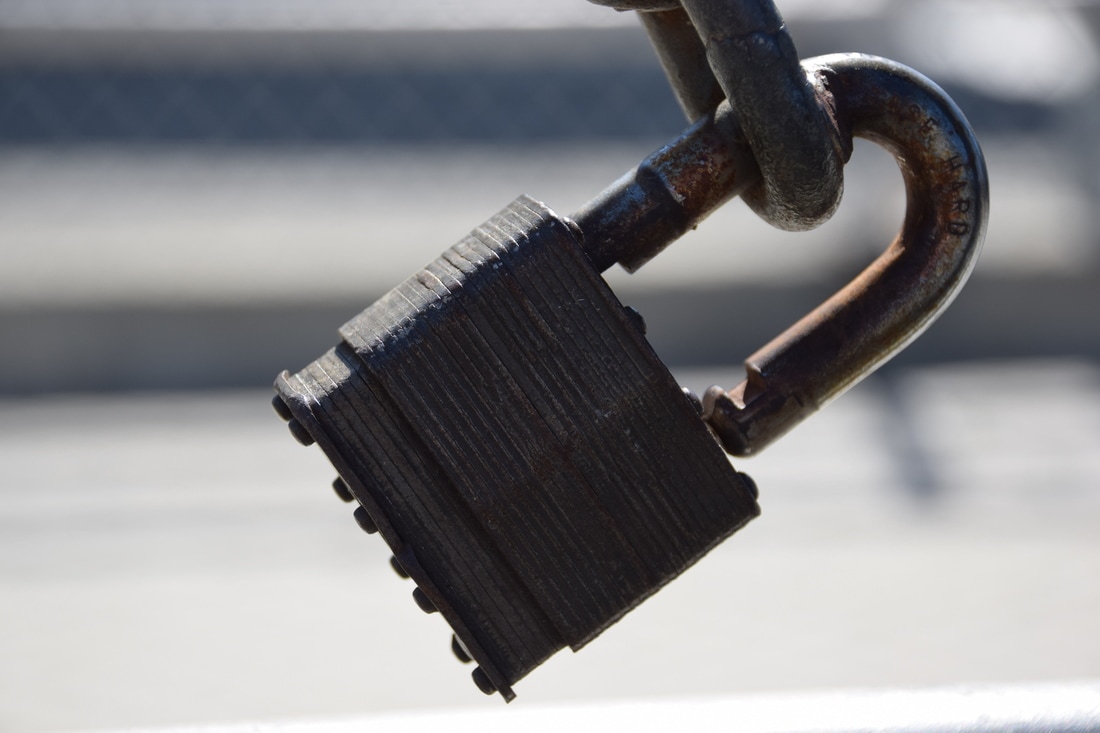
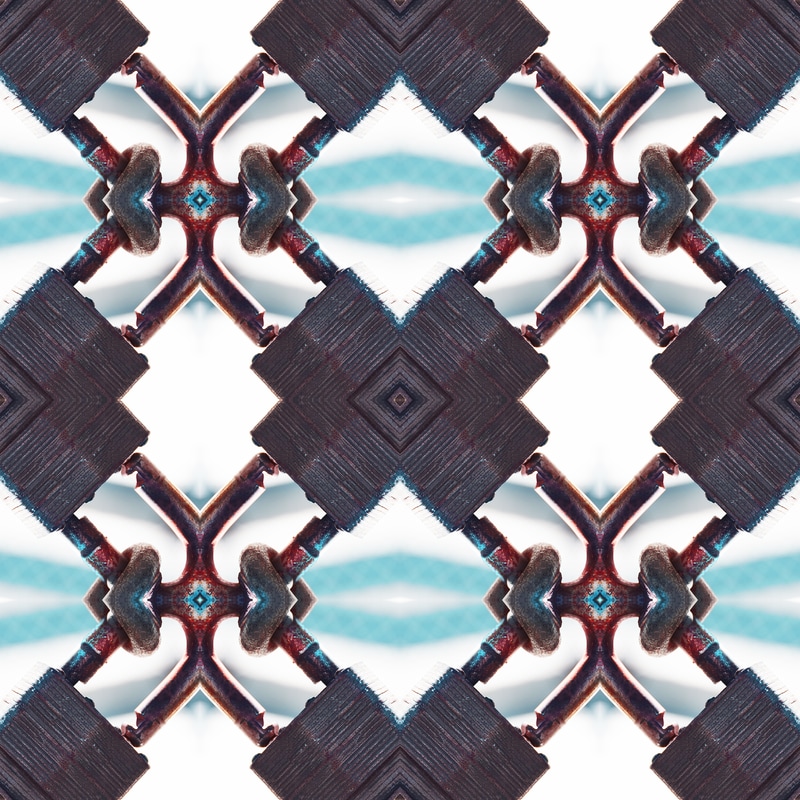
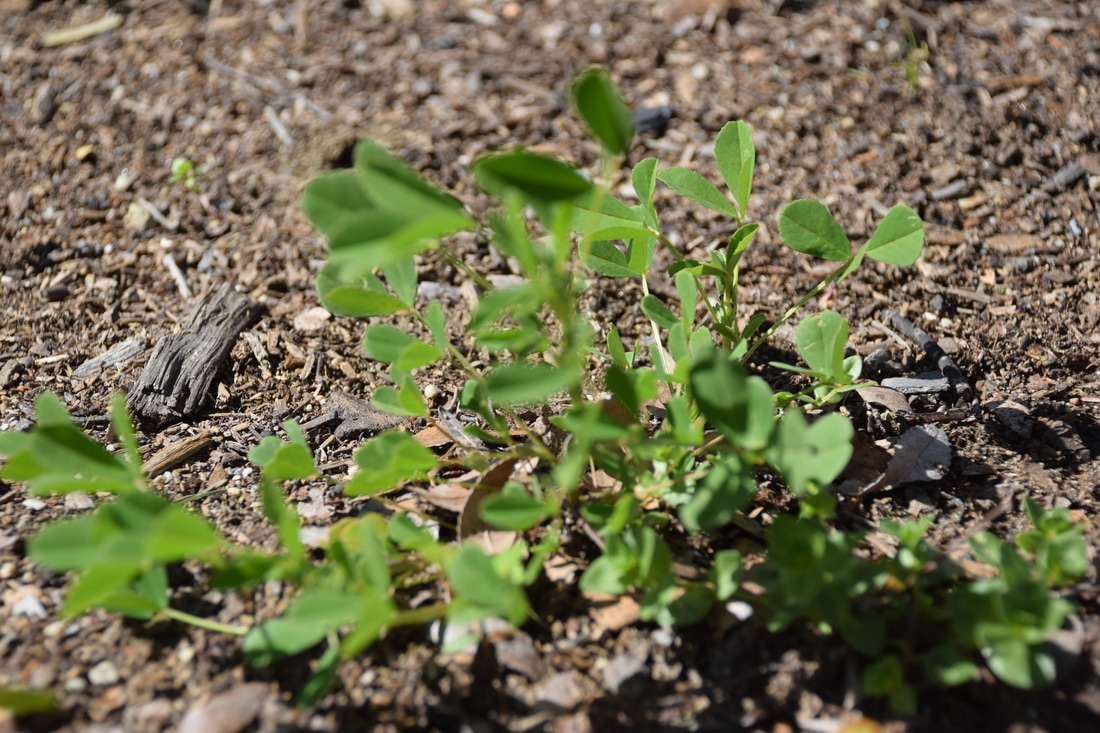
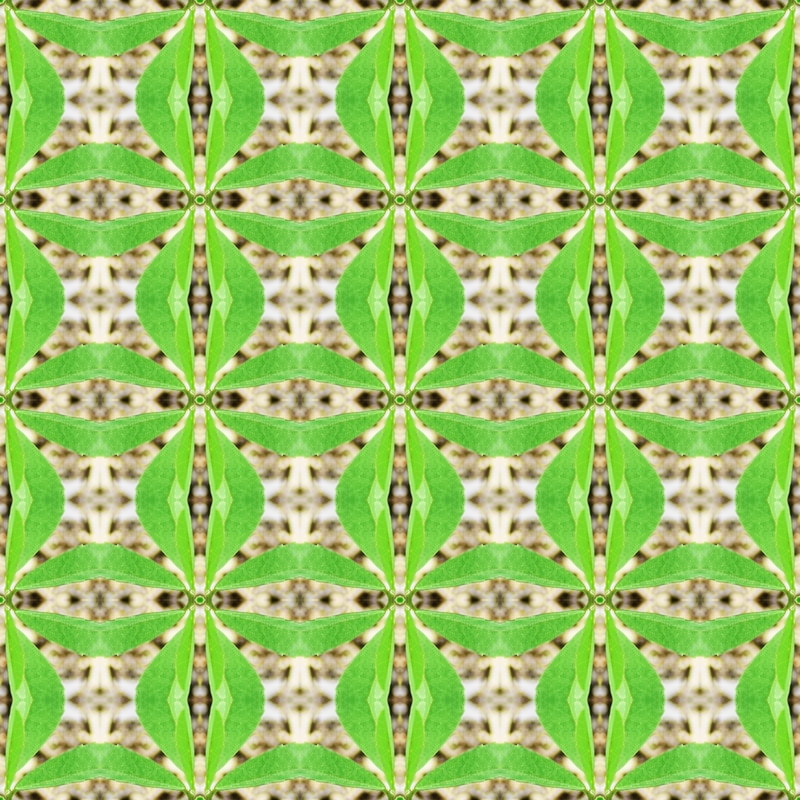
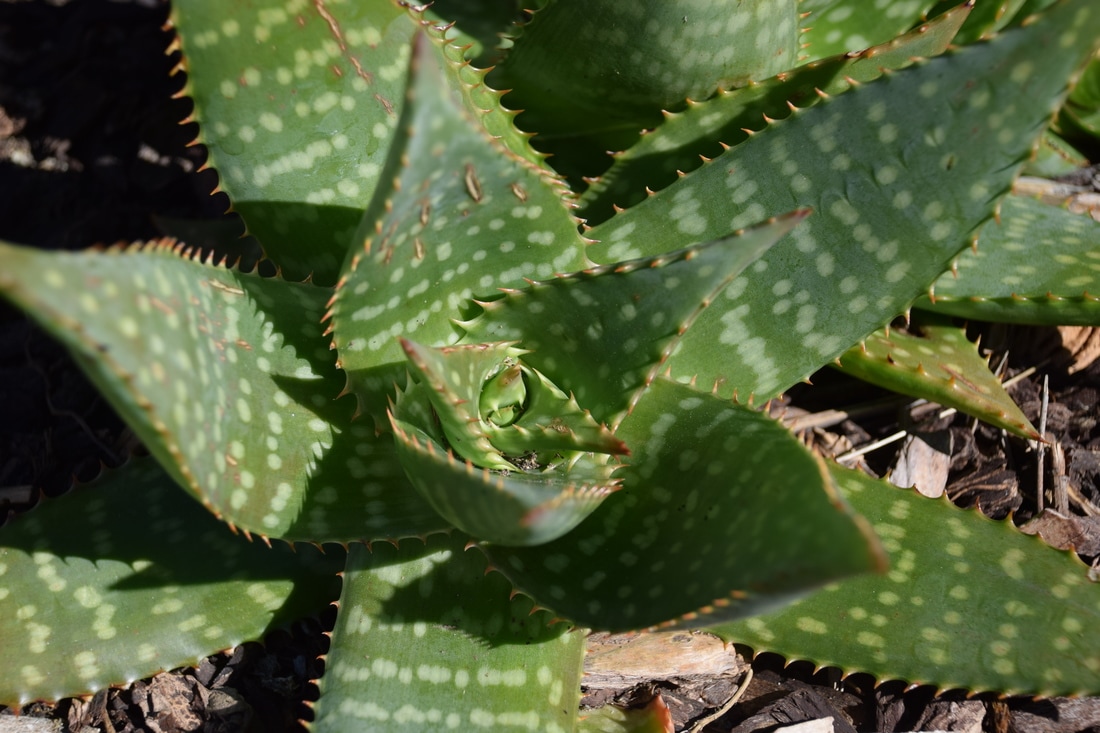
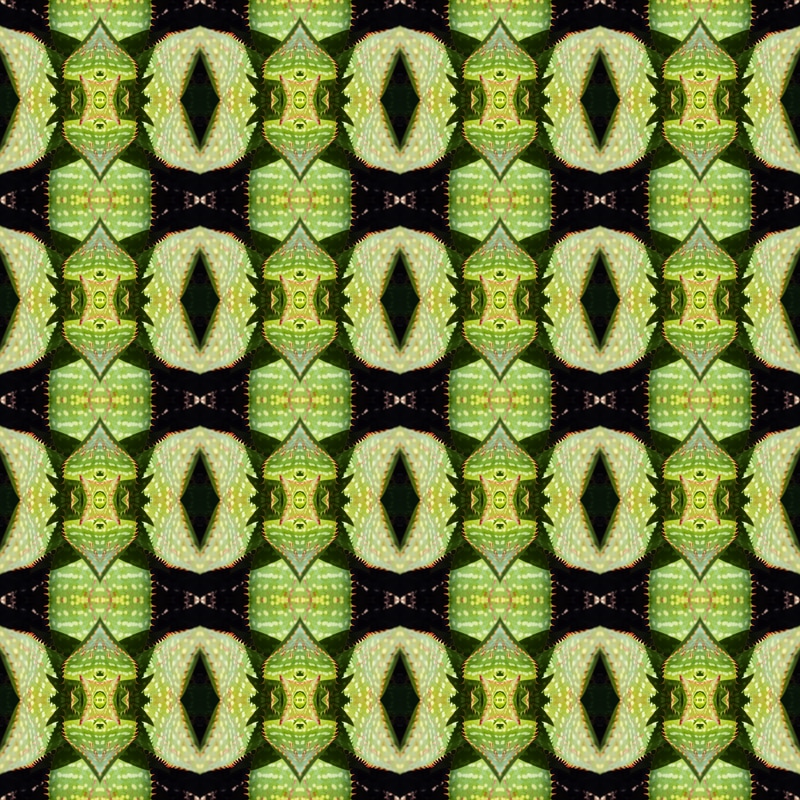
Tessellation is a form of photography that takes a cropped photo and reflects it four or more times. The way I made these tessellations is very simple but it takes a wile. You first need to choose the image you want to tessellate and open it in photoshop and crop it to what you want to reflect and resize it 4 inch by 4 inch. Open a new file 8 inch by 8 inch and add guidelines in the center vertical and horizontal. Add the cropped image to a corner. Duplicate layer and reflect the image by going to edit > transform > flip horizontal or flip vertical. And there you have it, a tessellation.
0 Comments
There are a lot of variables to take a good portrait picture. You need a good setting, lighting, pose, and angle. A good pose is important because it sets a mood for the photo and character to the person being photographed. What helped me choose a good pose was choosing what character I wanted the photo to have. Good lighting is also crucial to portrait photography, a good tool for lighting is the reflector. I used the reflector to bring light to the models face to give a nice glow. Also after the photographs are taken the photo is still not done. A lot of portraits are retouched in photoshop. I used photoshop to hide pimples and pores to smoothen the skin. There are a lot of job positions for portrait photography. There are positions that involve working for clothing and makeup companies, wedding photography, photography for senior photos, there are too many to name. Photographers are usually hired by companies, schools or anyone in need for a portrait. Depending on who the employer is portrait photographers usually get payed 10 and 8 dollars an hour. 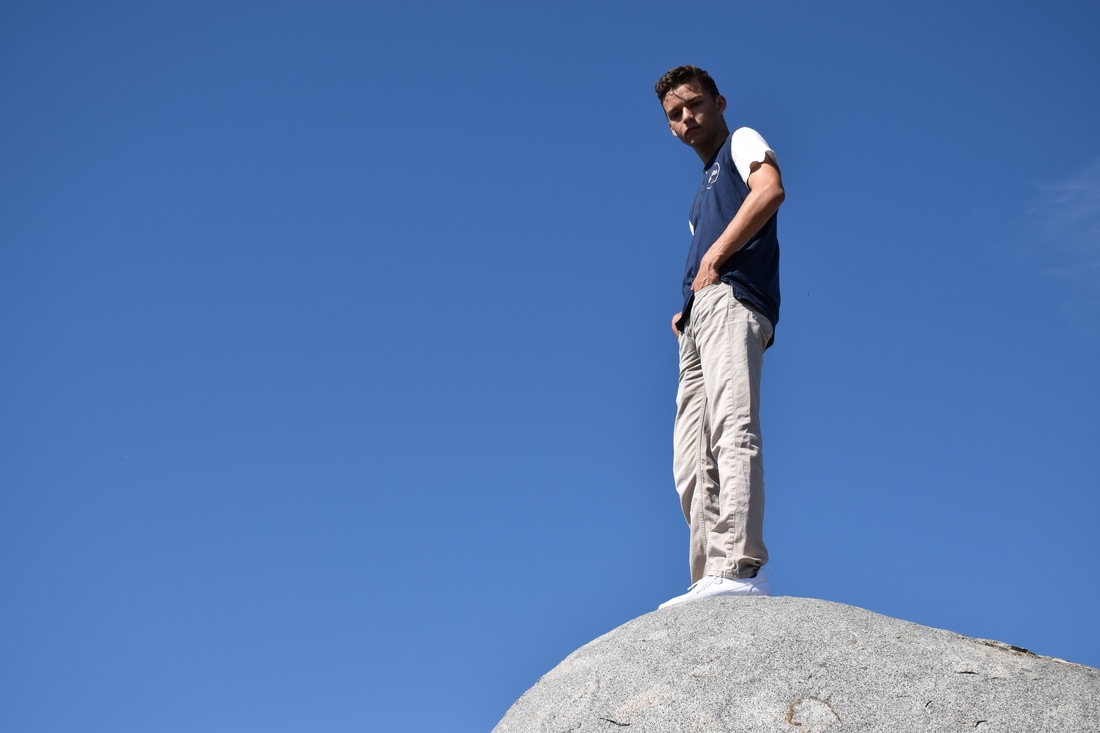 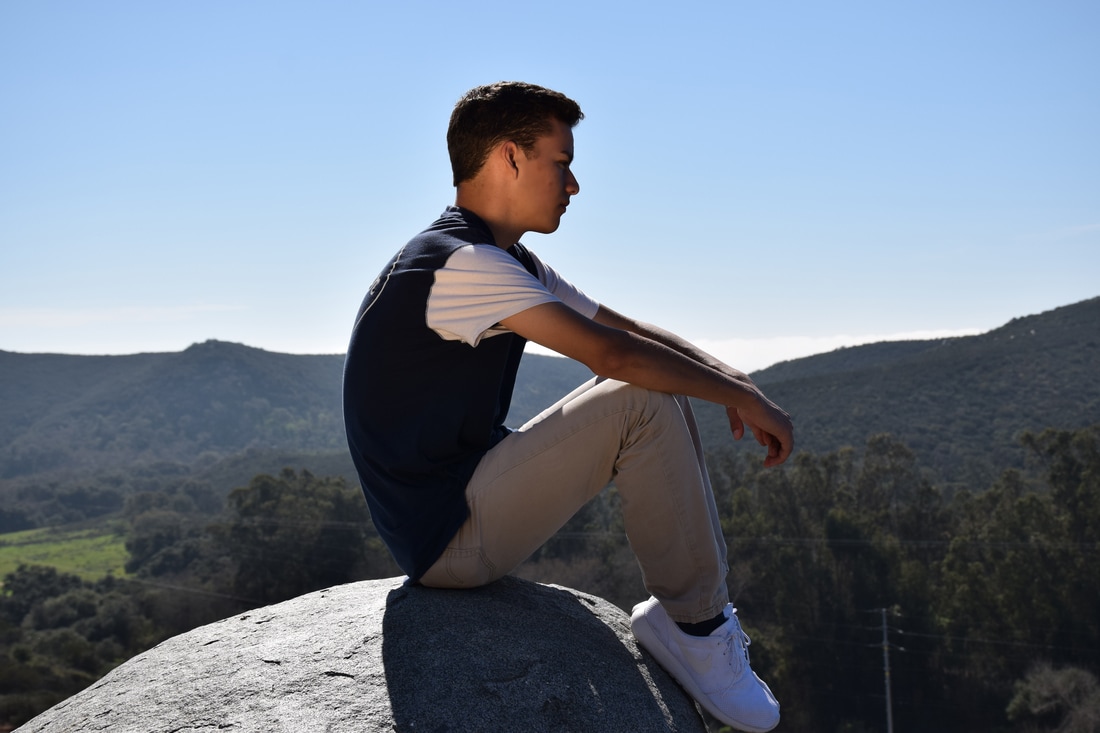 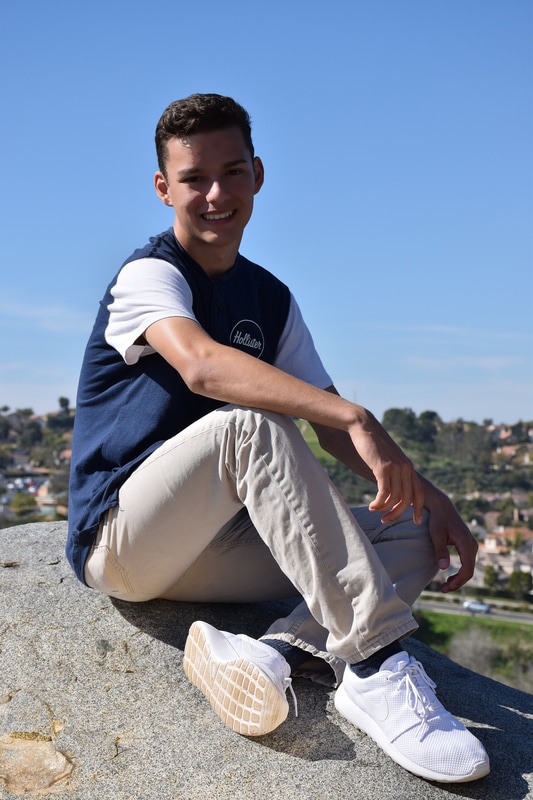  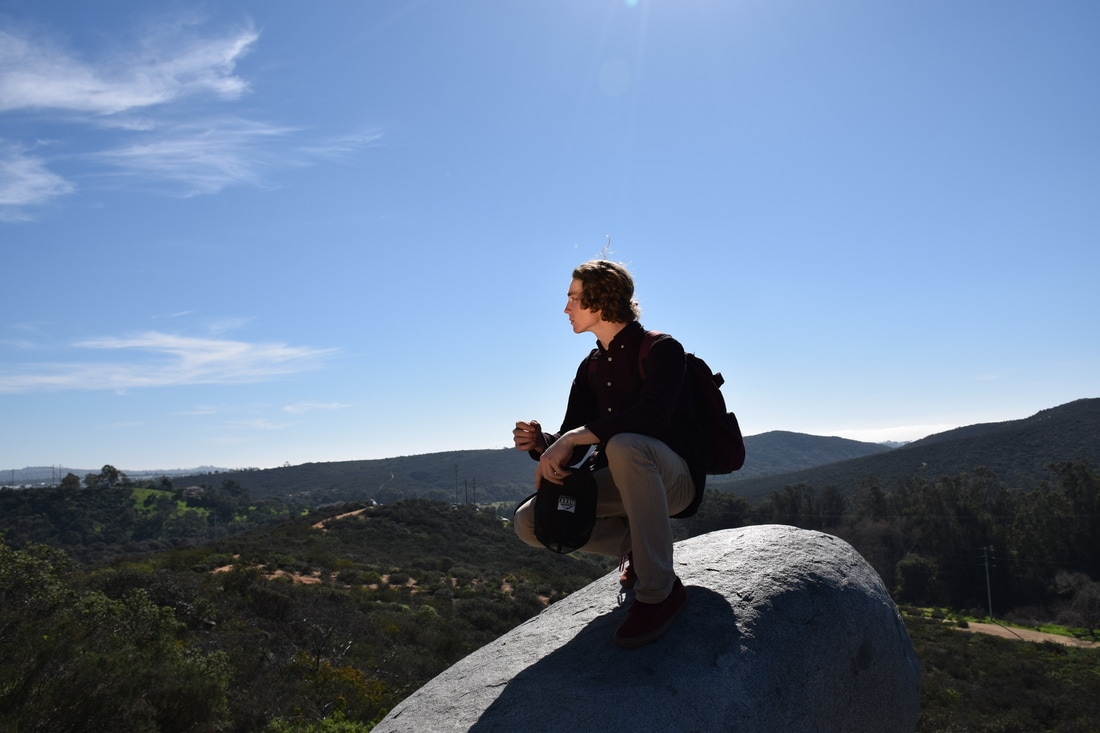 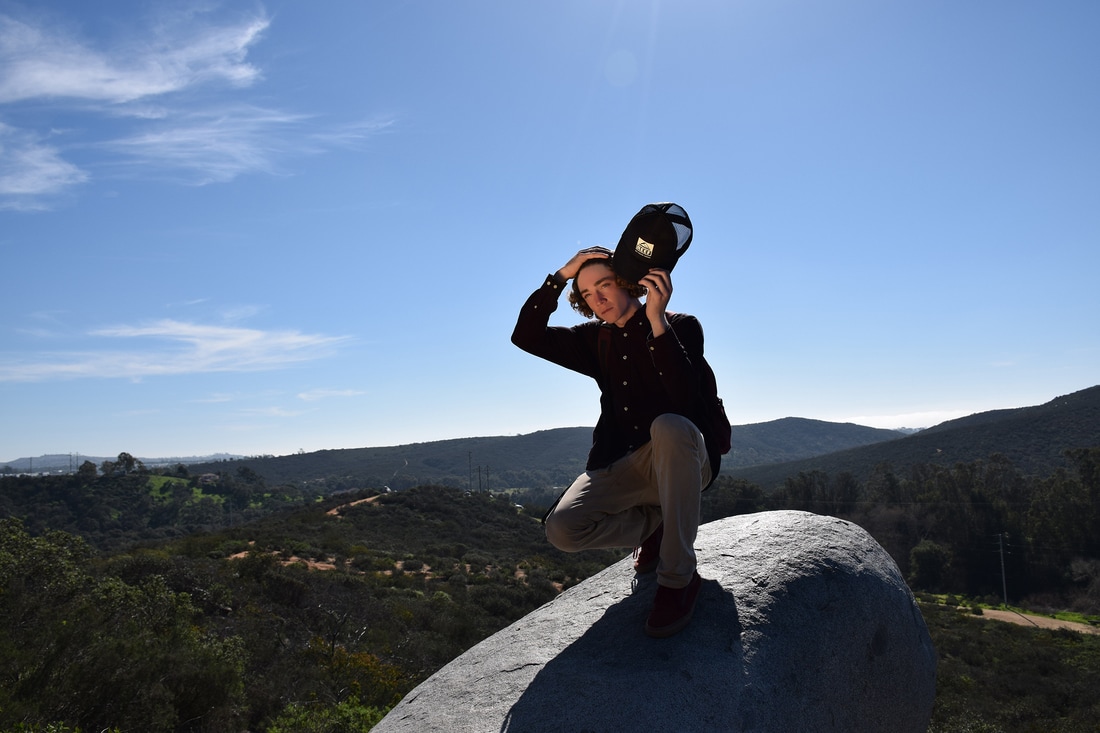 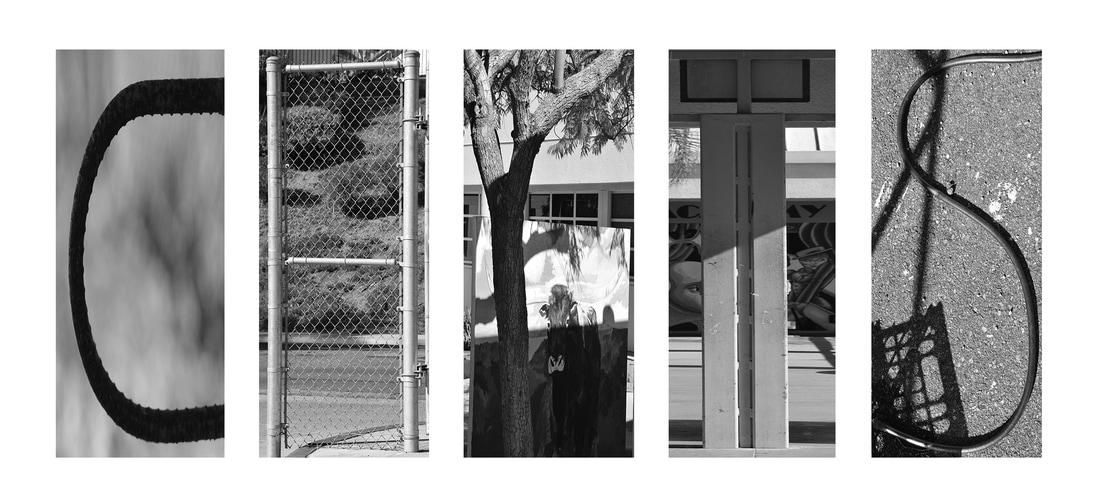 The photoshop process is very simple for this project. First the template must be downloaded from the common drive. In photoshop I dragged the letters of my name into the template and put them in their positions. After each letter is where I want it to be I pressed the check mark on the top right. The last step is to merge the layers and save. I struggled with finding the letters in my name such as
Leading Line ISO: 200 Aperture: f/16 Shutter Speed: 1/125 Before 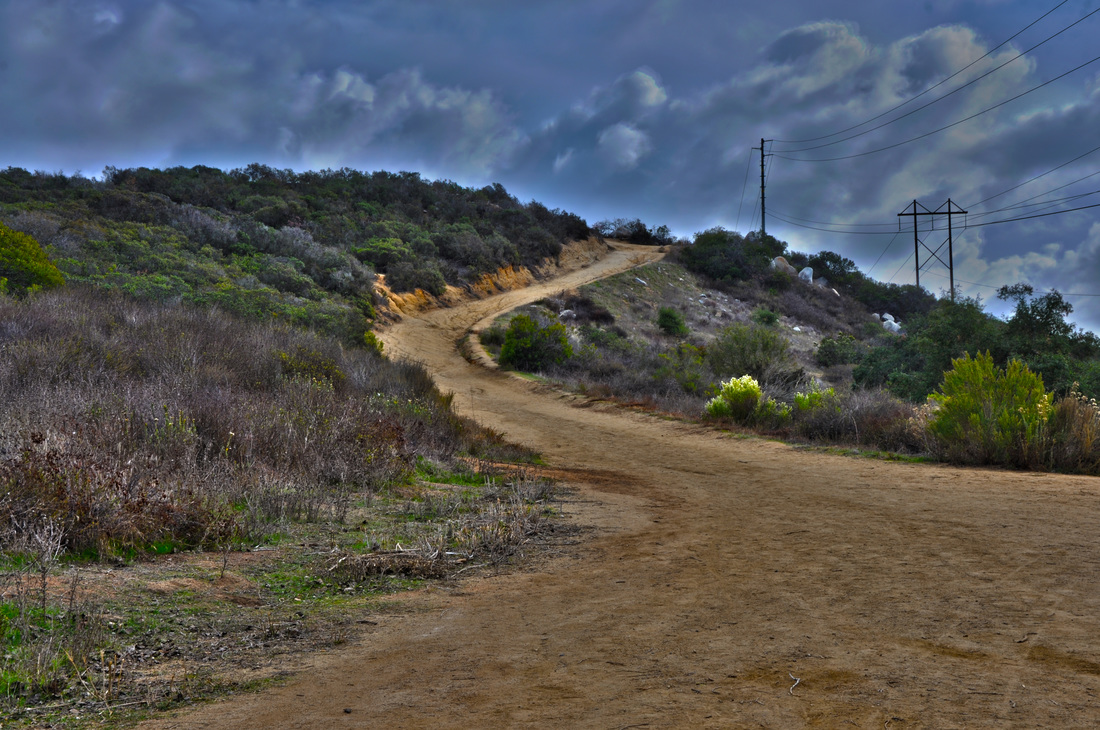 After Frame ISO: 200 Aperture: f/16 Shutter Speed: 1/4 Before  After Crop ISO: 200 Aperture: f/16 Shutter Speed: 1/15 Before 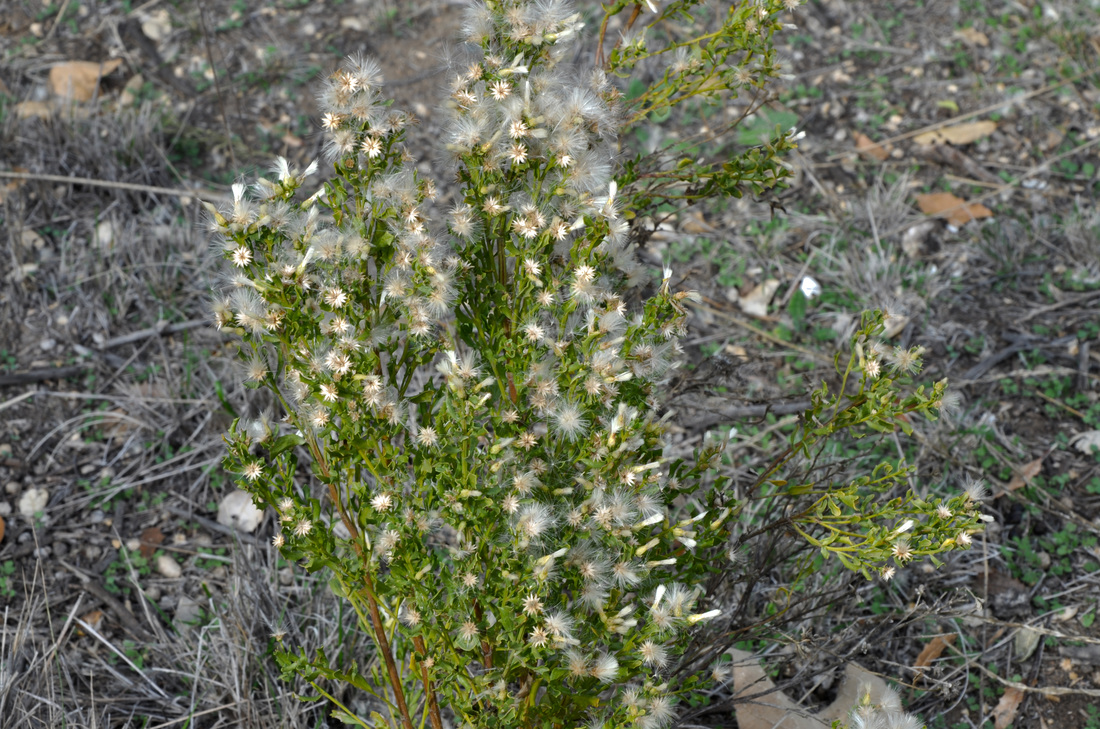 Symmetry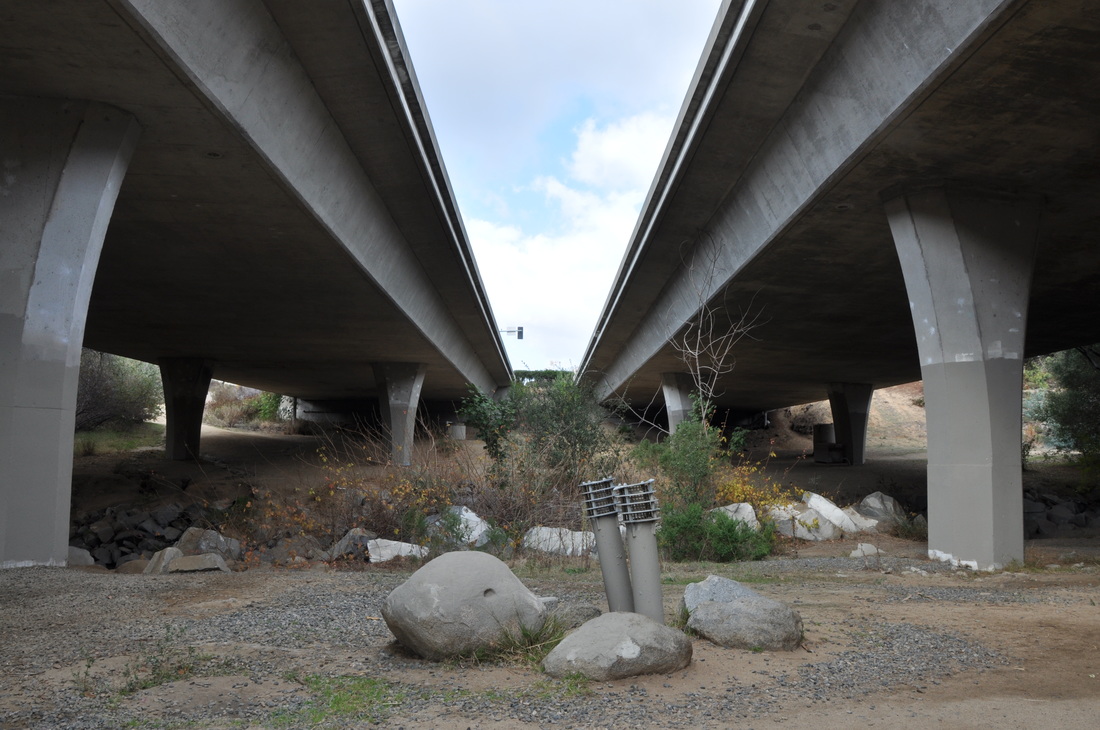 ISO: 200 Aperture: f/16 Shutter Speed: 1/60 Before 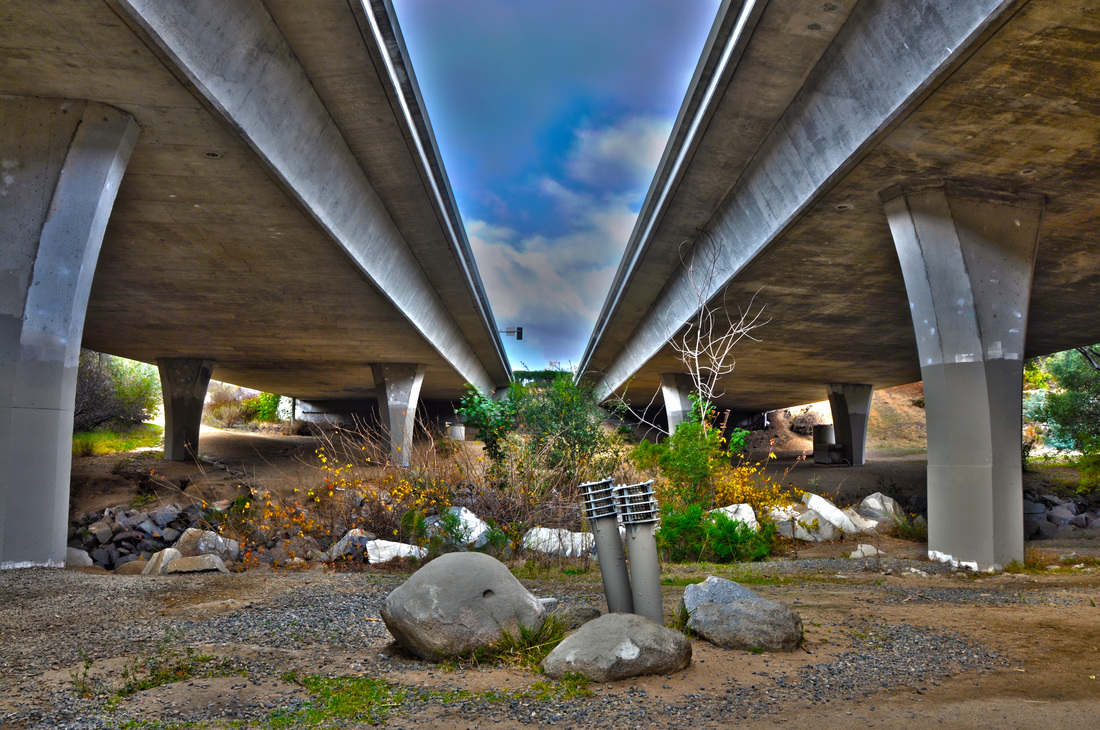 After Rule of Thirds ISO: 200 Aperture: f/16 Shutter Speed: 1/90 Before 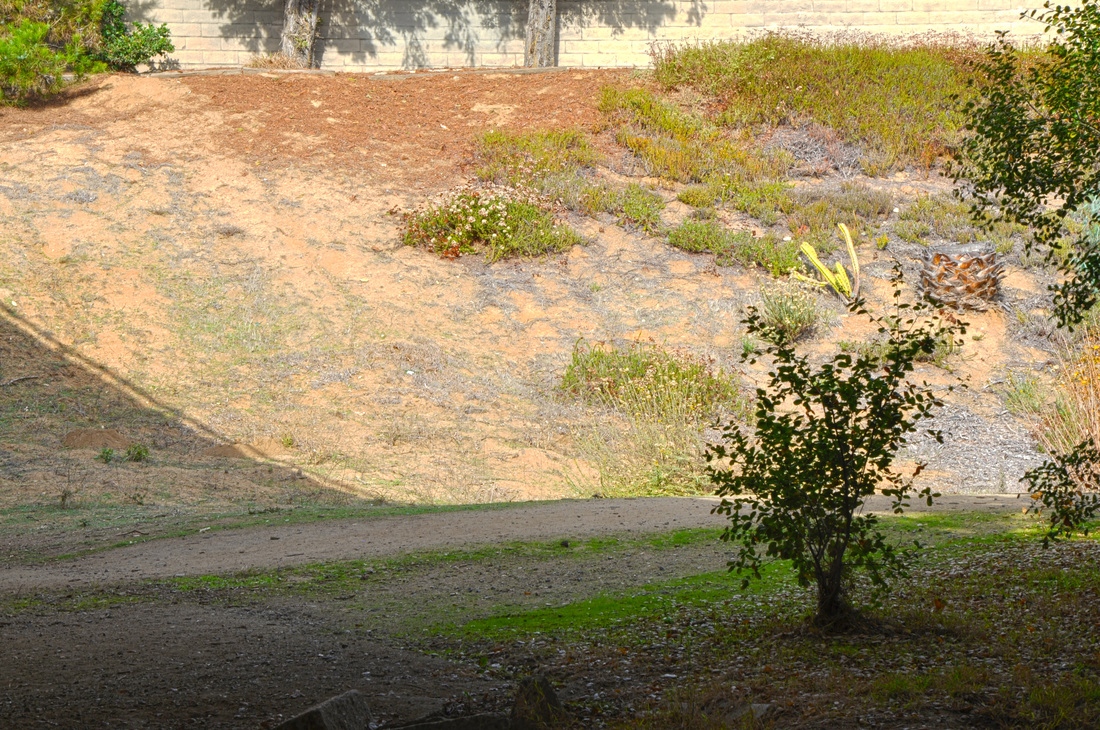 After How to Do HDRHDR o rHigh Dynamic Range is a style of photography that takes pictures with different exposures to make a more saturated image. Making an HDR photo is very easy process.
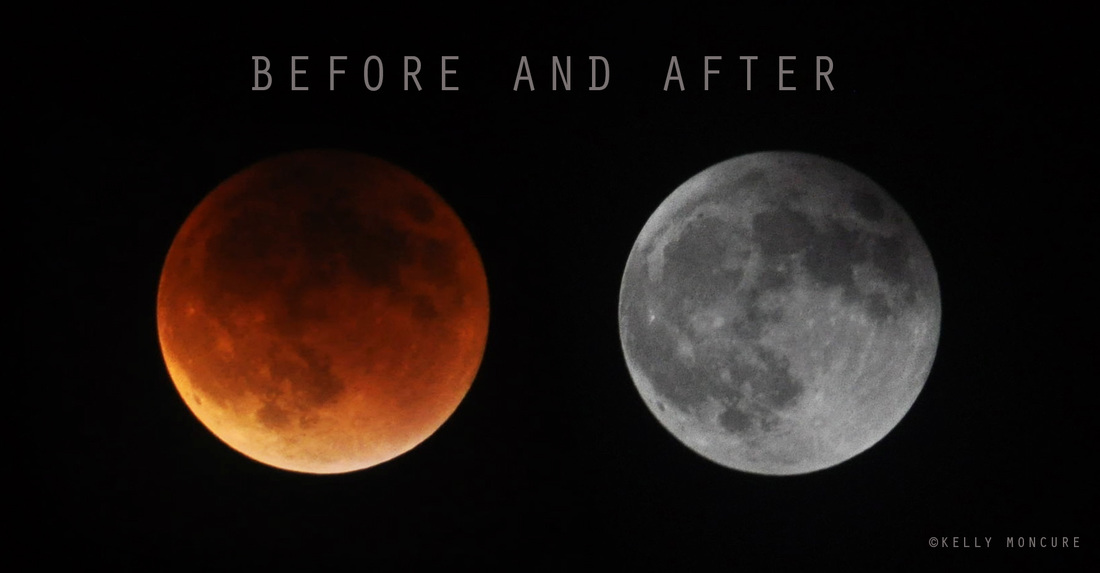 Blood Moon Lunar Eclipse, September 27, 2015. Left image: 70-300mm lens @ 270mm, ISO 1000, aperture f/5.3, shutter speed 1.3 secs. Right image: 70-300mm lens @ 300mm, ISO 800, aperture f/13, shutter speed 1/1250 sec. To photograph the moon:
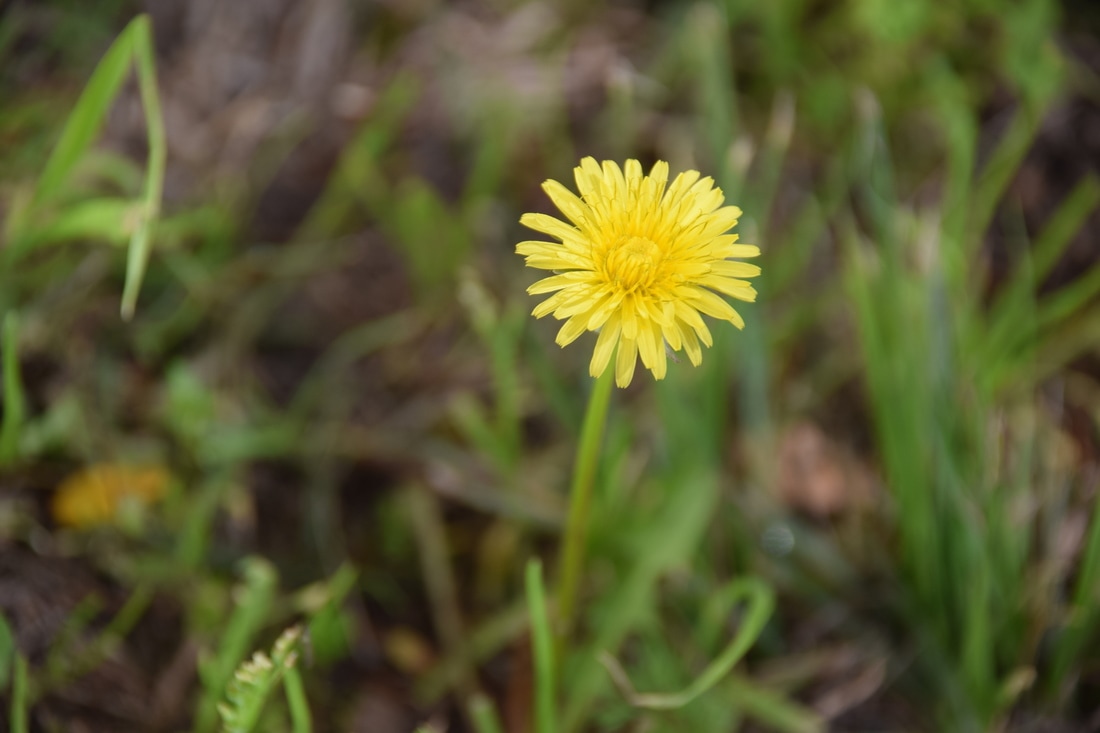
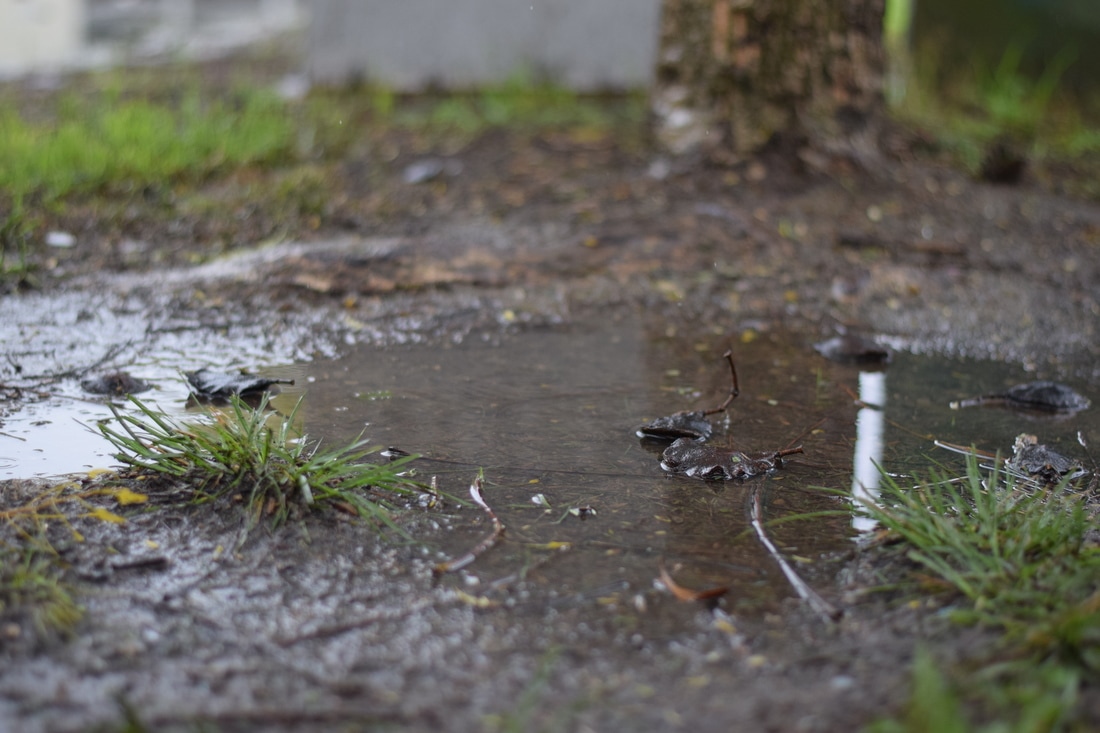
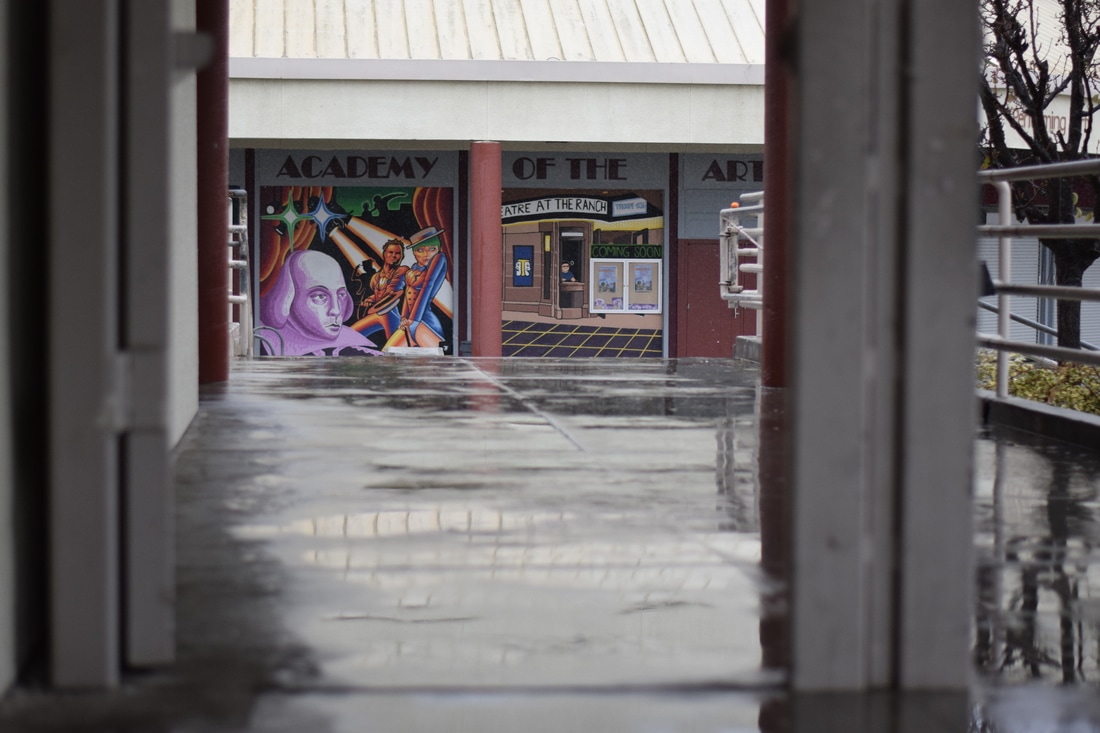
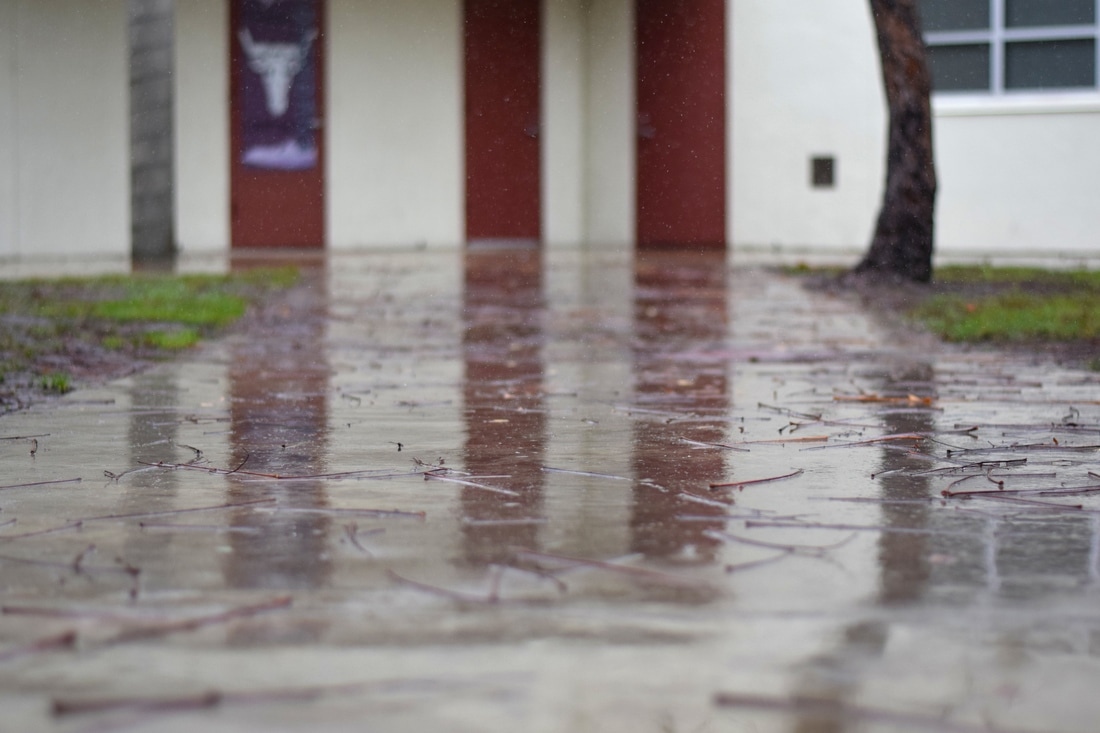
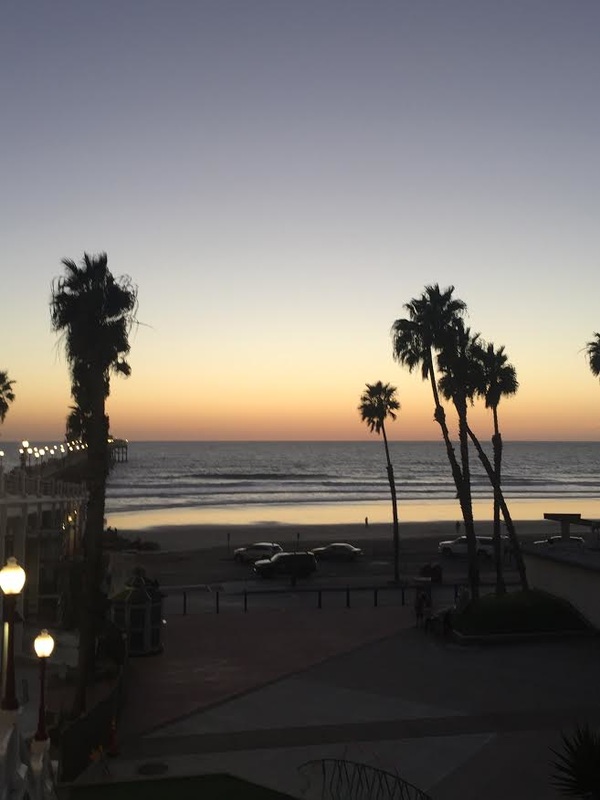
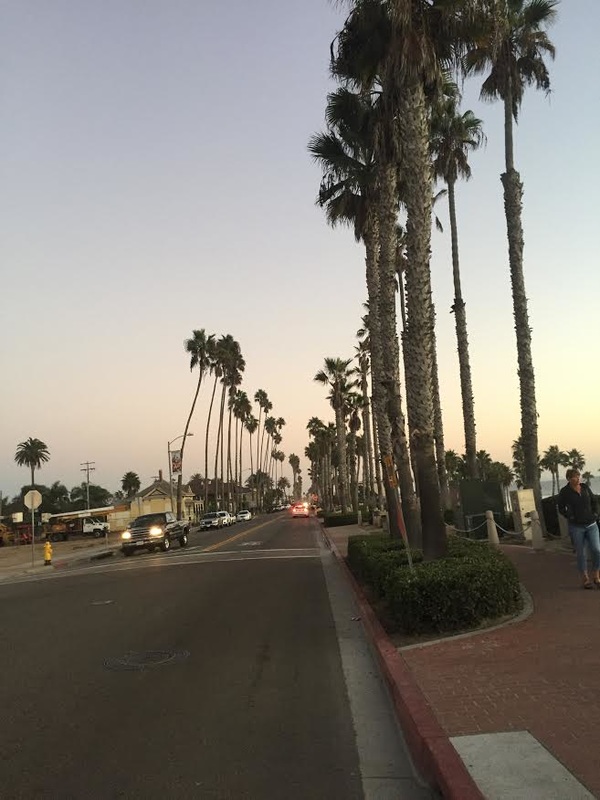
1. Use a tripod! A flat surface will only allow you to shoot straight, and shooting the moon means that you'll be shooting up and constantly re-adjusting the tripod as the moon moves throughout the night. 2. Use a shutter release cord, remote or the camera's self timer if you don't have one, so that you don't move the camera when pressing the shutter release during a long exposure. 3. Use a zoom lens and zoom in as much as you can to the moon. It's okay if it's not a super fancy lens, this was shot using a 15 year old $100 lens. Focus in on the craters and details on the moon. 4. ISO 1250- 1600, so that you can use as fast a shutter speed as you can without losing detail-the longer the shutter speed, the more chances you have the camera will shake even slightly in the wind, resulting in an out of focus photograph. 5. Aperture priority of f/5.6 since you are not worried about capturing any details other then the moon. 6. Bracket your exposure, meaning over expose and underexpose the photograph from what the camera is telling you. Generally the camera will overexpose the moon, so you'll get nothing but a white blob in the sky. Use the exposure compensation button (the +/- button below the shutter release) and change the exposure to -0.5, then -1.0, then -1.5 and so on, until you start seeing detail in the moon. You may go as far as -5.0 exposure compensation to get what you need. 7. Take a fair amount of photos and keep refocusing as the night progresses. The photographs may look focused on the camera's display, but you won't really see if they're completely in focus until you upload them onto your computer screen. 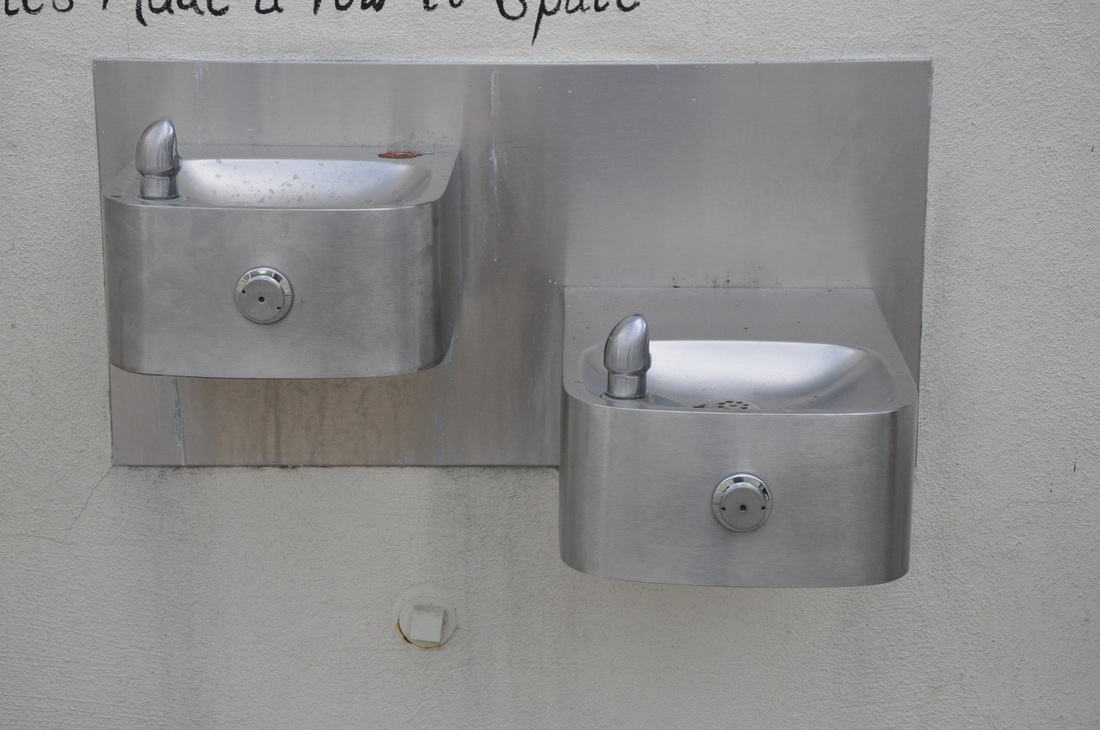 ISO: 800 Aperture: f/8 Shutter Speed: 1/1,000 The two drinking fountains are symmetrically alike showing balance. 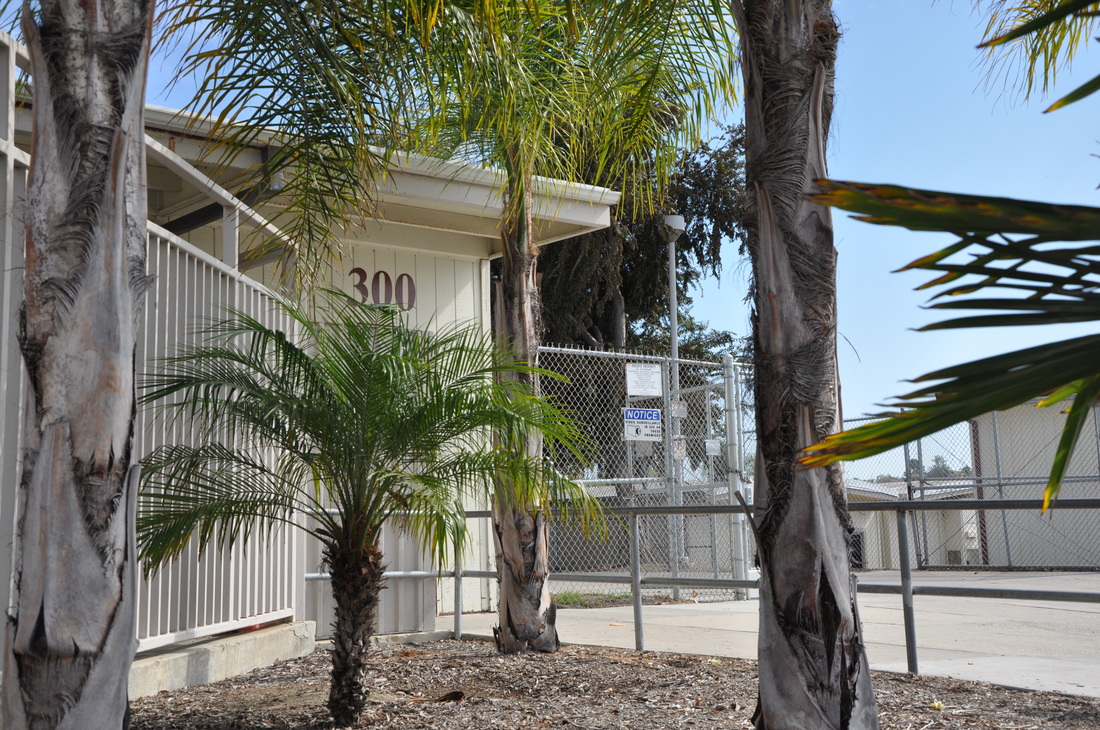 ISO: Aperture: Shutter Speed: There are three palm trees in this photo that appear much larger than the little one this shows different size proportion. 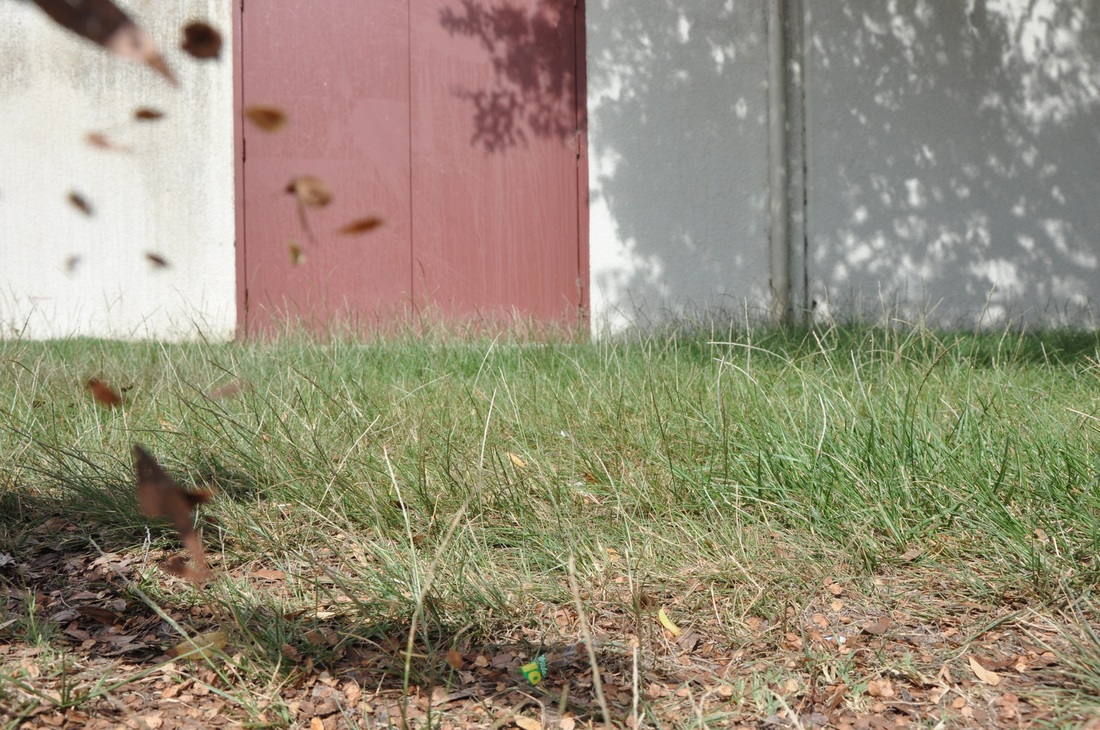 ISO: 450 Aperture: f/8 Shutter Speed: 1/1,000 A group of small leaves are fluttering through the grass this photo indicates movement and rhythm. 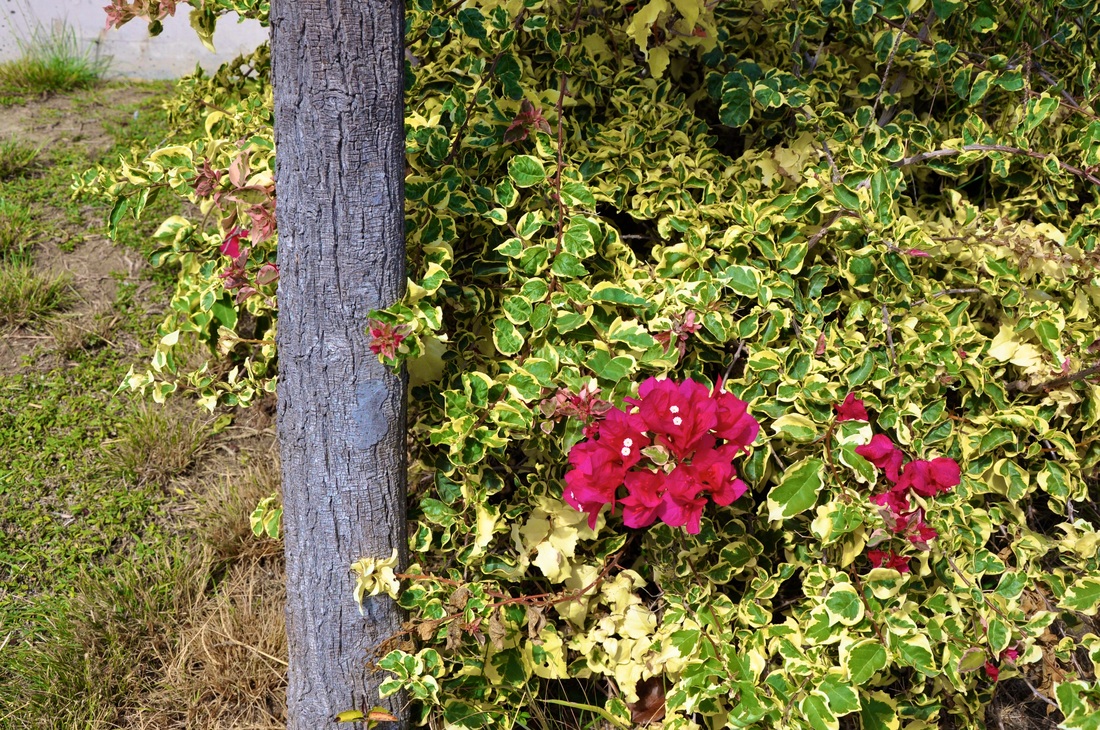 ISO: 400 Aperture: f/8 Shutter Speed: 1/1,250 The bright pink flower is the first thing the eye catches because it has emphasis. It pops out through the green leaves in the bush. 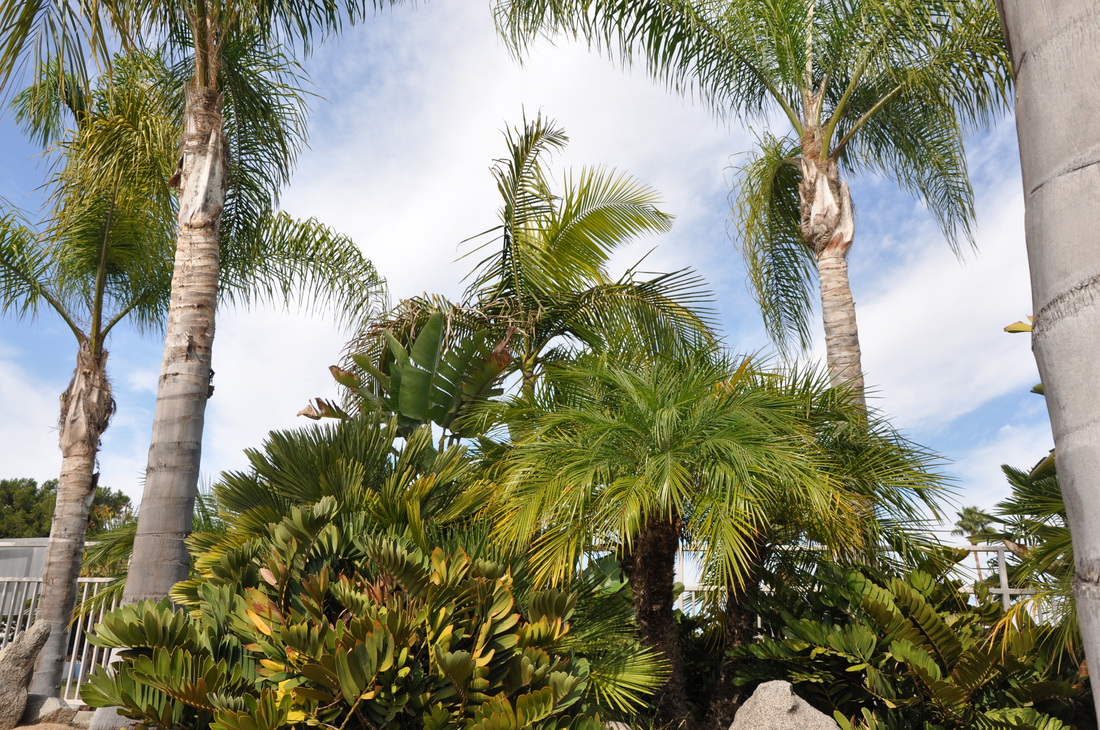 ISO: 560 Aperture: f/8 Shutter Speed: 1/1,000 The green of the plants relate with each other showing harmony. 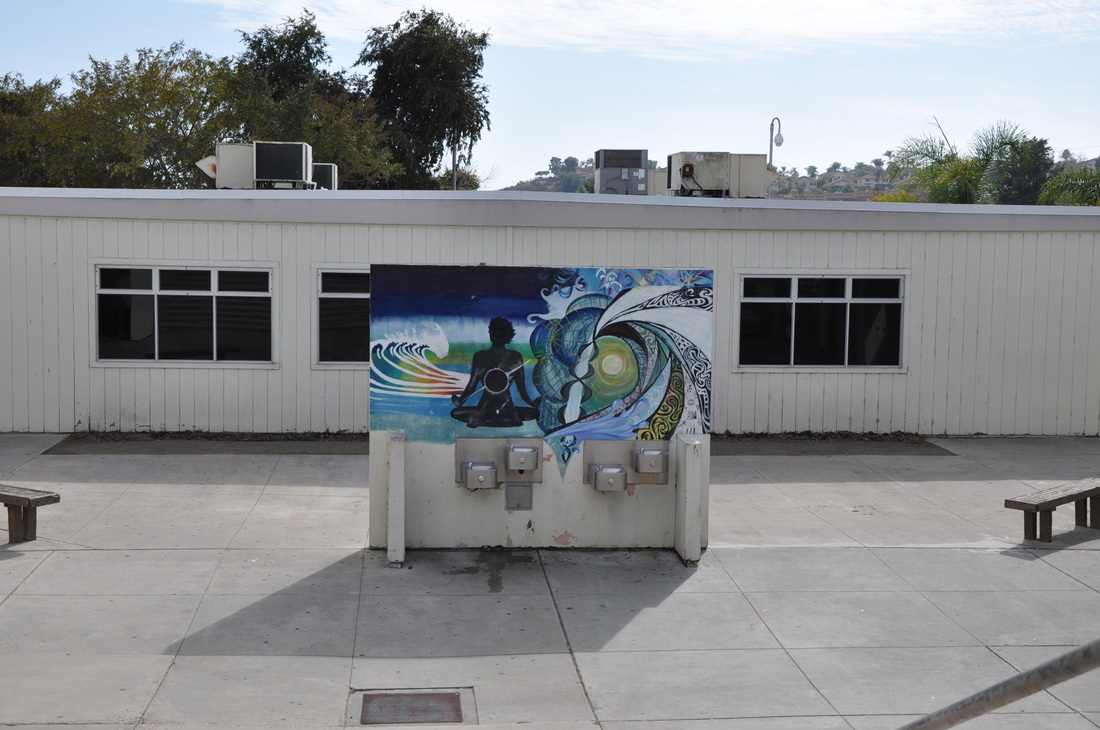 ISO: 400 Aperture: f/8 Shutter Speed: 1/1,250 In this photo everything is white; the floor and the walls. except for this picture full of color. This shows variety because you would not expect to see a mural in the middle of a dull area. 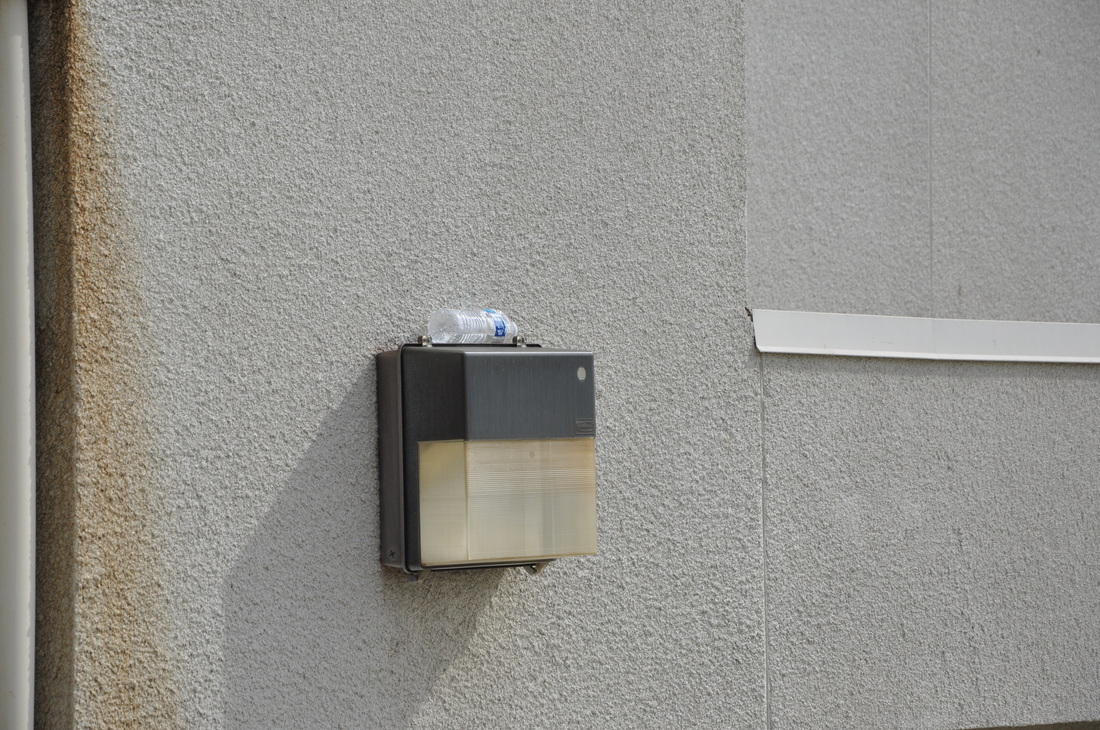 ISO: 400 Aperture: f/8 Shutter Speed: 1/1,600 An empty bottle on top of a light is not a normal thing to see but since it is known that some people don't clean after themselves and the white on the bottle mixes with the wall it seems to make sense that the bottle is there, this shows unity.
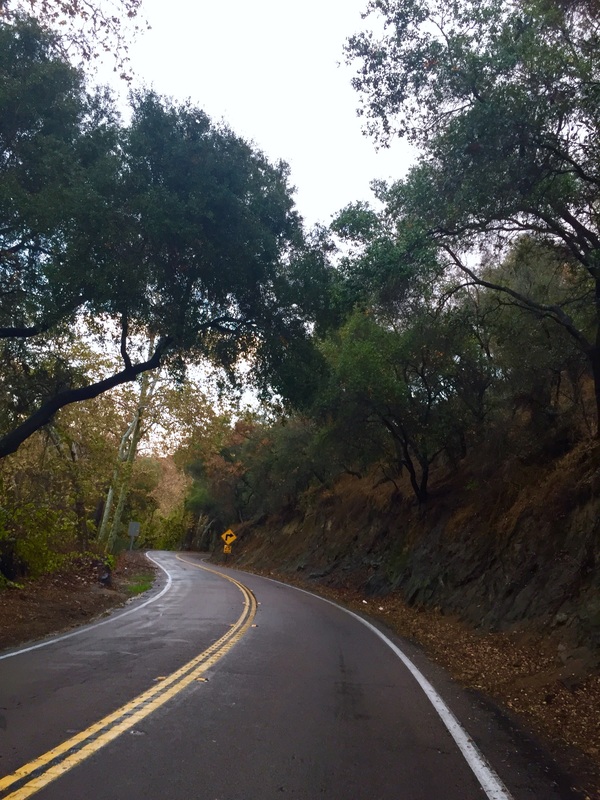
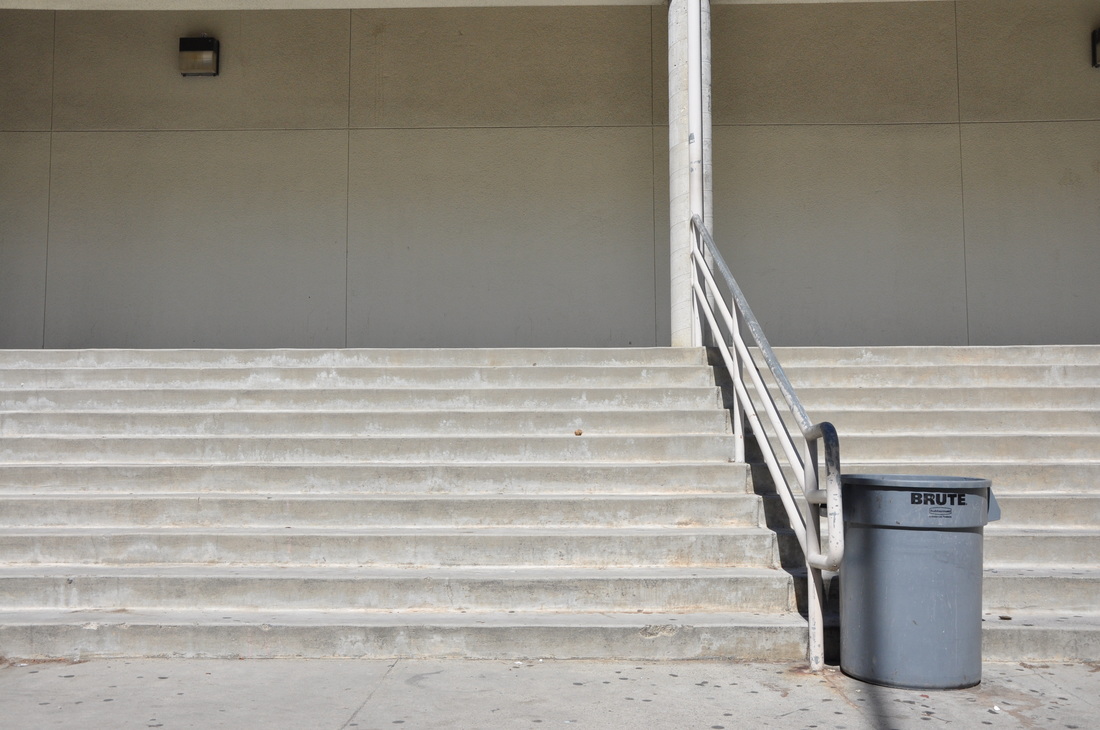 ISO: 400 Aperture: f/8 Shutter Speed: 1/1,250 This is a photo of stairs at RBV, you could see the rail showing distance and height of these stairs. 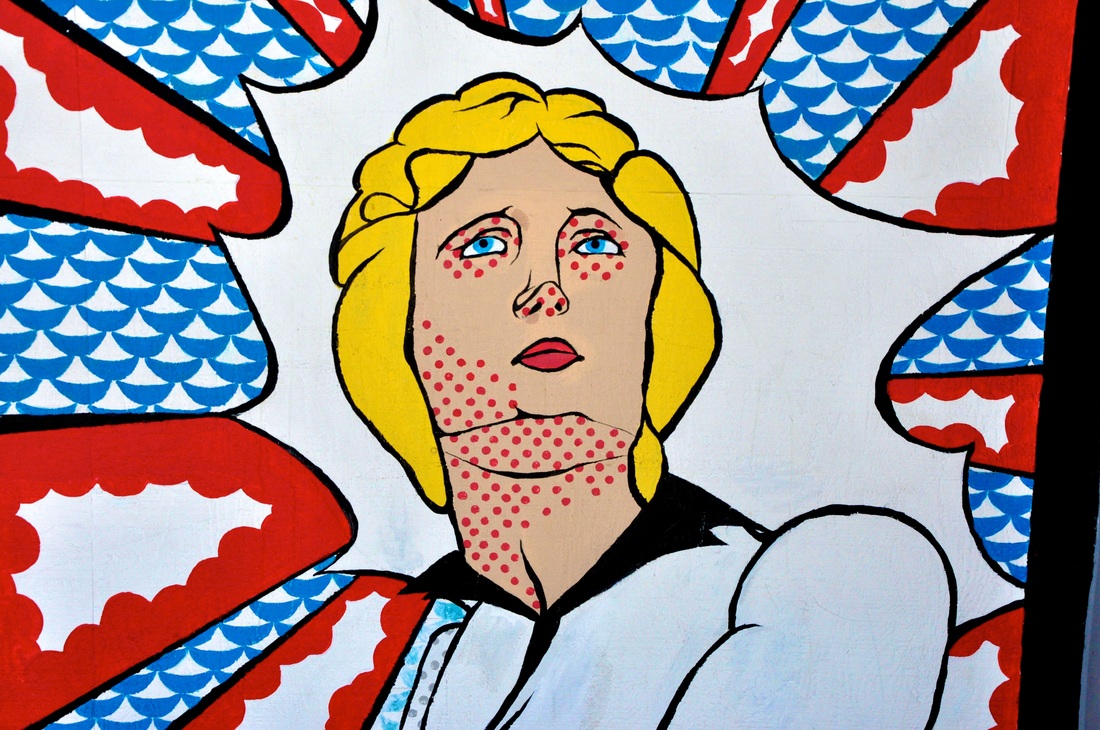 ISO: 640 Aperture: f/8 Shutter Speed: 1/1,000 This is a photo of a mural showing intense and bright color. This mural has warmth and coolness. 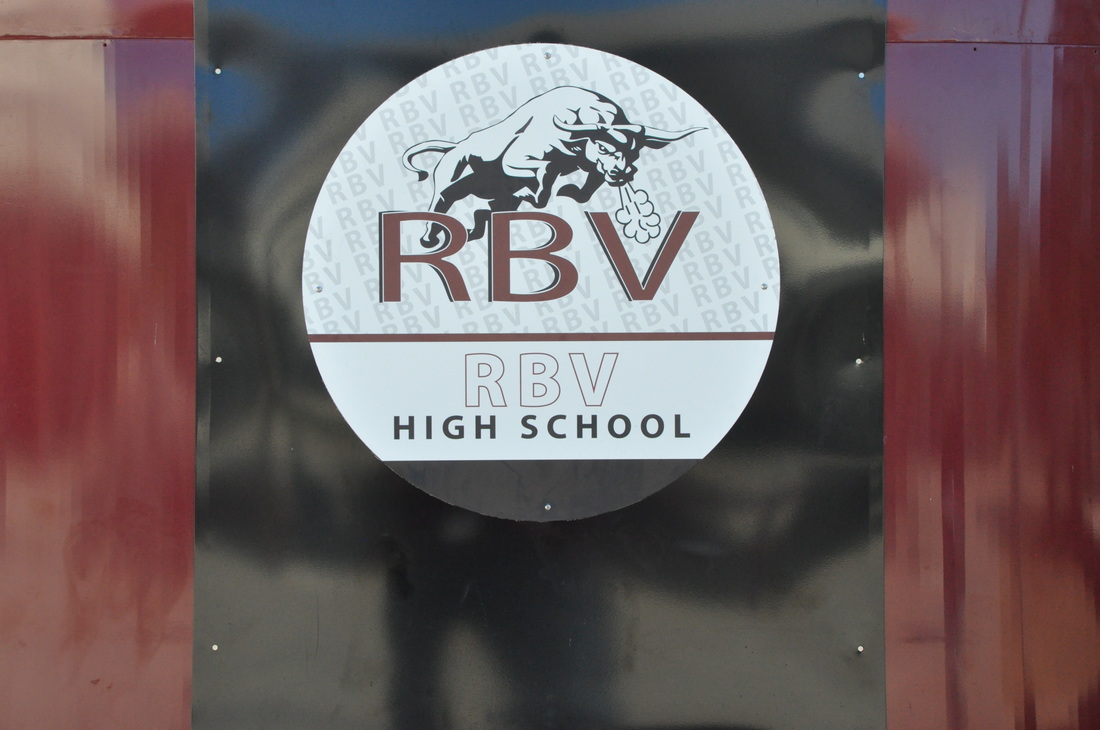 ISO: 1400 Aperture: f/8 Shutter Speed: 1/1,000 This sign of RBV composes different shapes like a circle and rectangles. 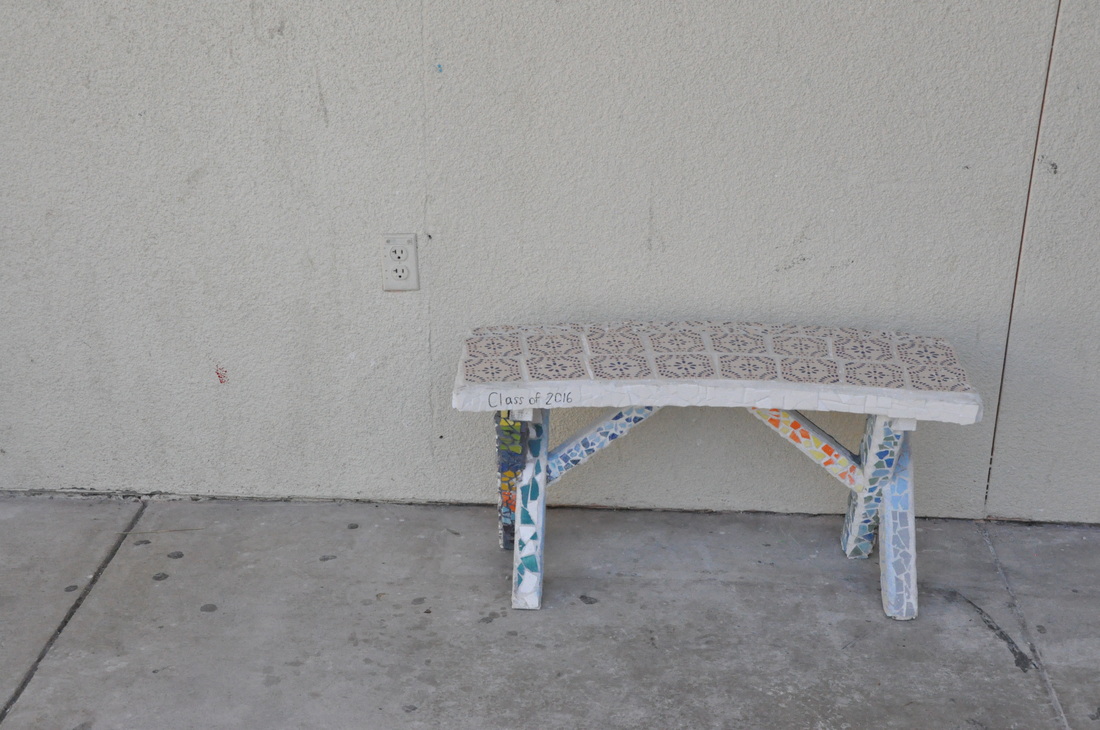 ISO: 3200 Aperture: f/10 Shutter Speed: 1/1,000 This small bench is a good example of form. You could see that it has height width and depth. 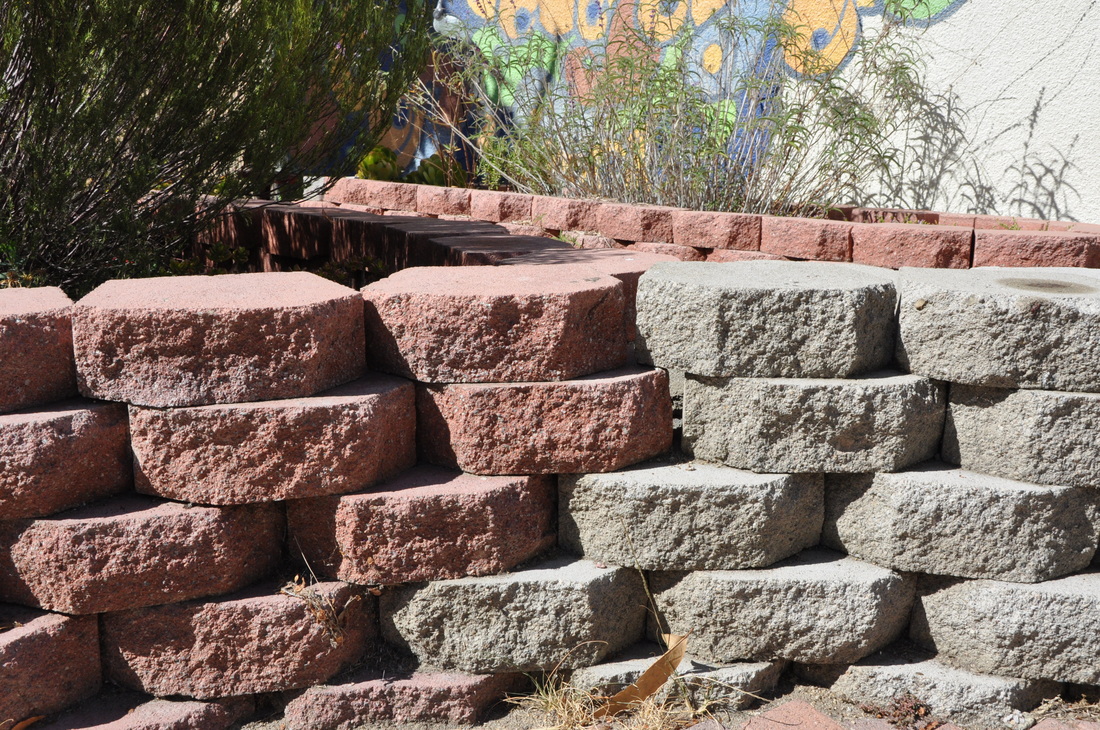 ISO: 720 Aperture: f/10 Shutter Speed: 1/1,000 The rough rigidness of this short stone wall is clear in this photo. I think it is a good example of texture. 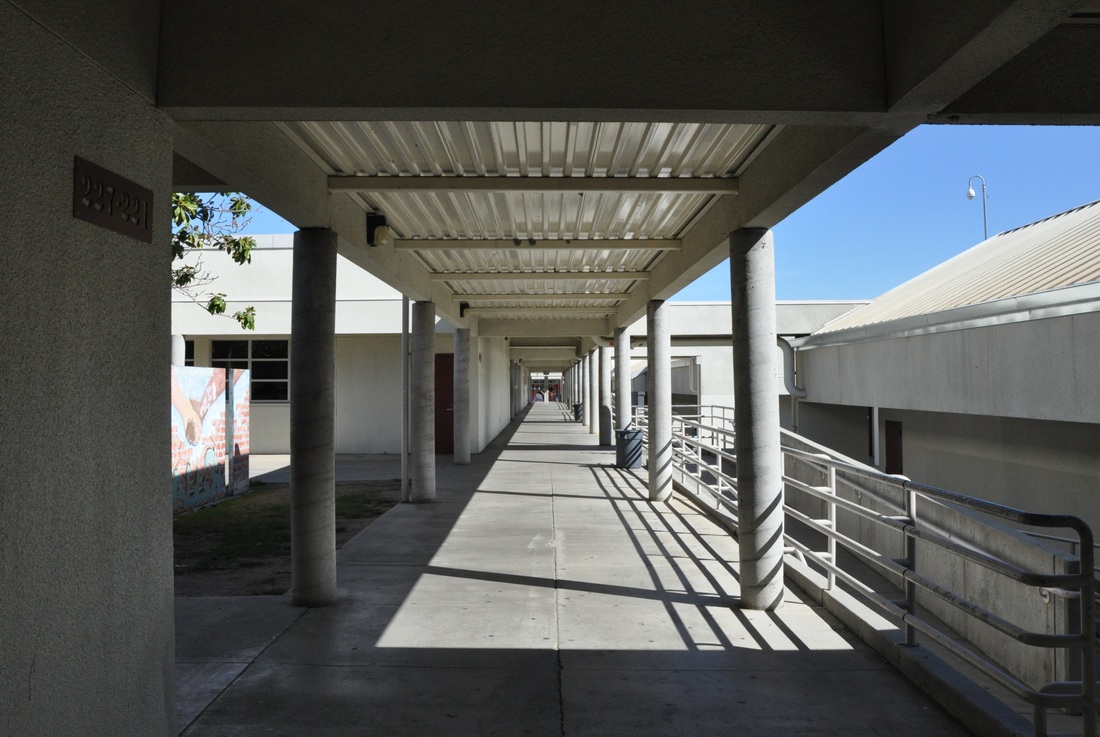 ISO: 800 Aperture: f/10 Shutter Speed: 1/1,000 The emptiness in this hallway shows a lot of negative space. 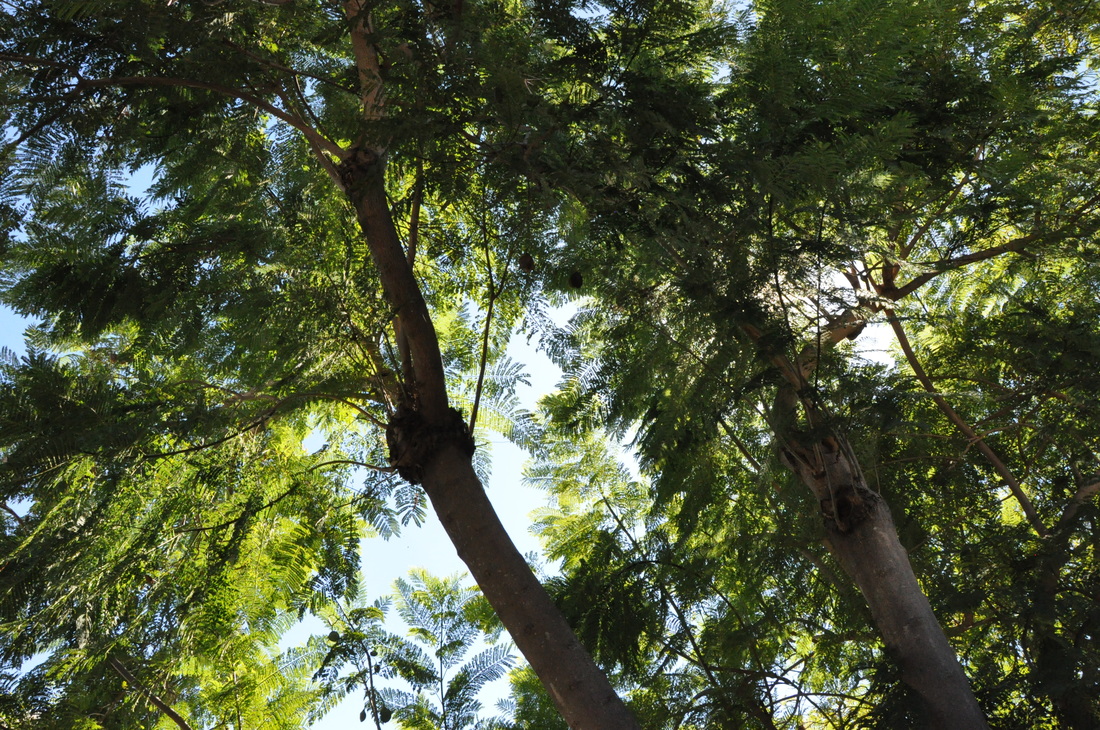 ISO: 2200 Aperture: f/10 Shutter Speed: 1/1,000 the sunlight coming through the tree's and the dark shadow shows that this photo has value
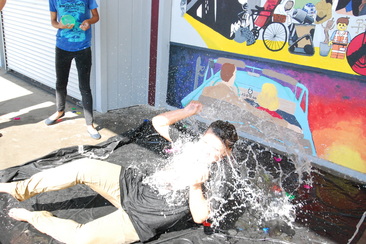
How it's done
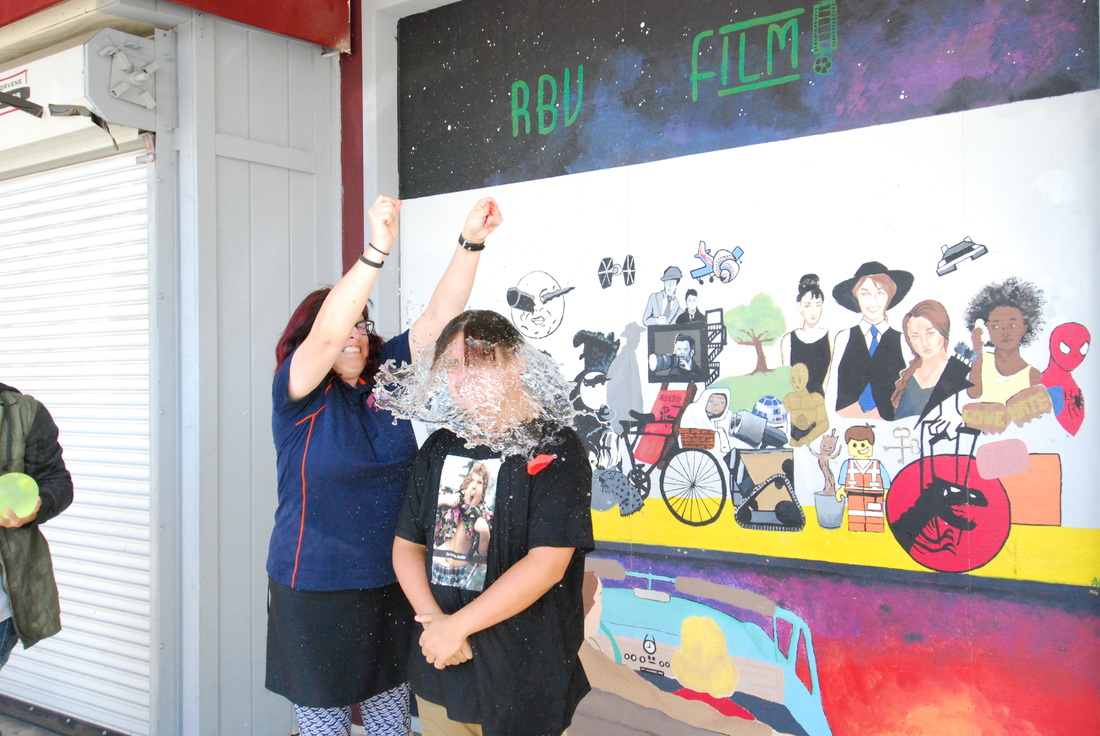
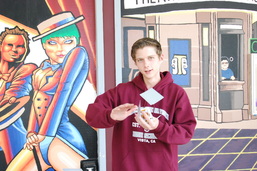
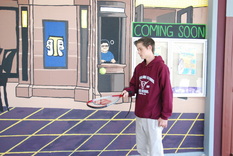
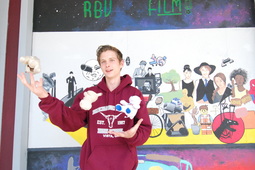
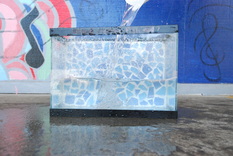
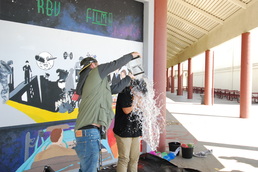
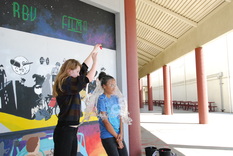
Taking these photos was super fun and easy. You'll need a model, a camera set to shutter priority, and good timing. Have the camera ready to take the picture and have your model ready to perform an action and when everything is set snap the photo when the action is performed. The action could be throwing cards, blowing bubbles, juggling, or getting hit with a ton of water. Struggles and What I've Learned I struggled with getting the exact moment I want in the picture. Also I struggled a lithe with juggling. I've learned that using fast shutter speed requires a fast reflex to catch the desired moment, using fast shutter speed could get really unique pictures, and I've also learned that using fast shutter speed can get high quality photos. Other Uses for Fast Shutter Speed There are other things that you could do with fast shutter speed that doesn't require people getting wet. Fast shutter speed can be used to capture animals such as birds flying, a cheetah running, or sports such as a runner (running), a race car, or a gymnast performing a flip. The list could go on, there are many things that can be done with fast shutter speed. |
AuthorI'm a go with the flow type of person and very friendly, also extremely talkative. Archives
June 2017
Categories |


 RSS Feed
